-
Jiawen Gong authoredJiawen Gong authored

06 BIOFABRICATION
RESEARCH
OVERVIEW MATERIAL RESEARCH OUTCOMES
 Gelatin Foil Gelatin Foil |
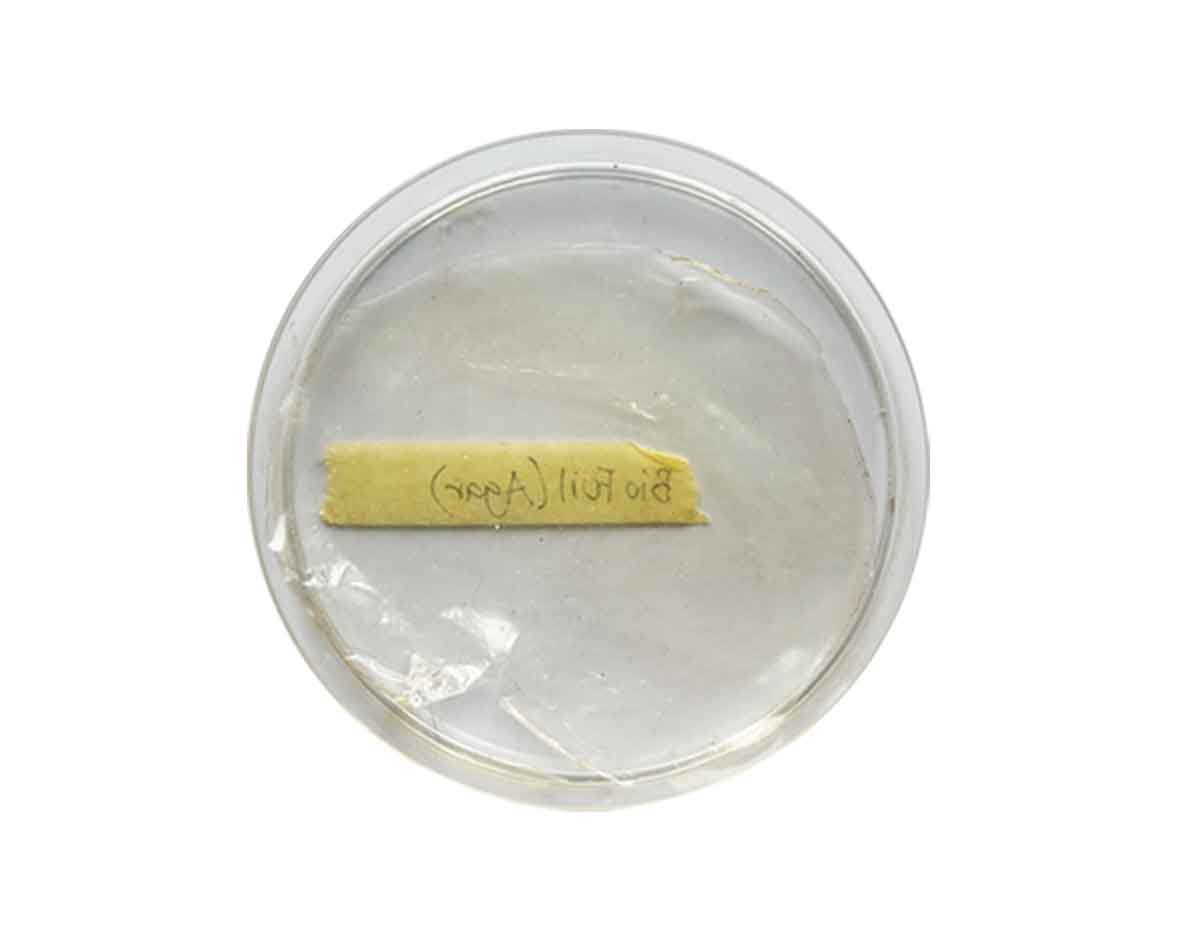
 Agar Foil Agar Foil |
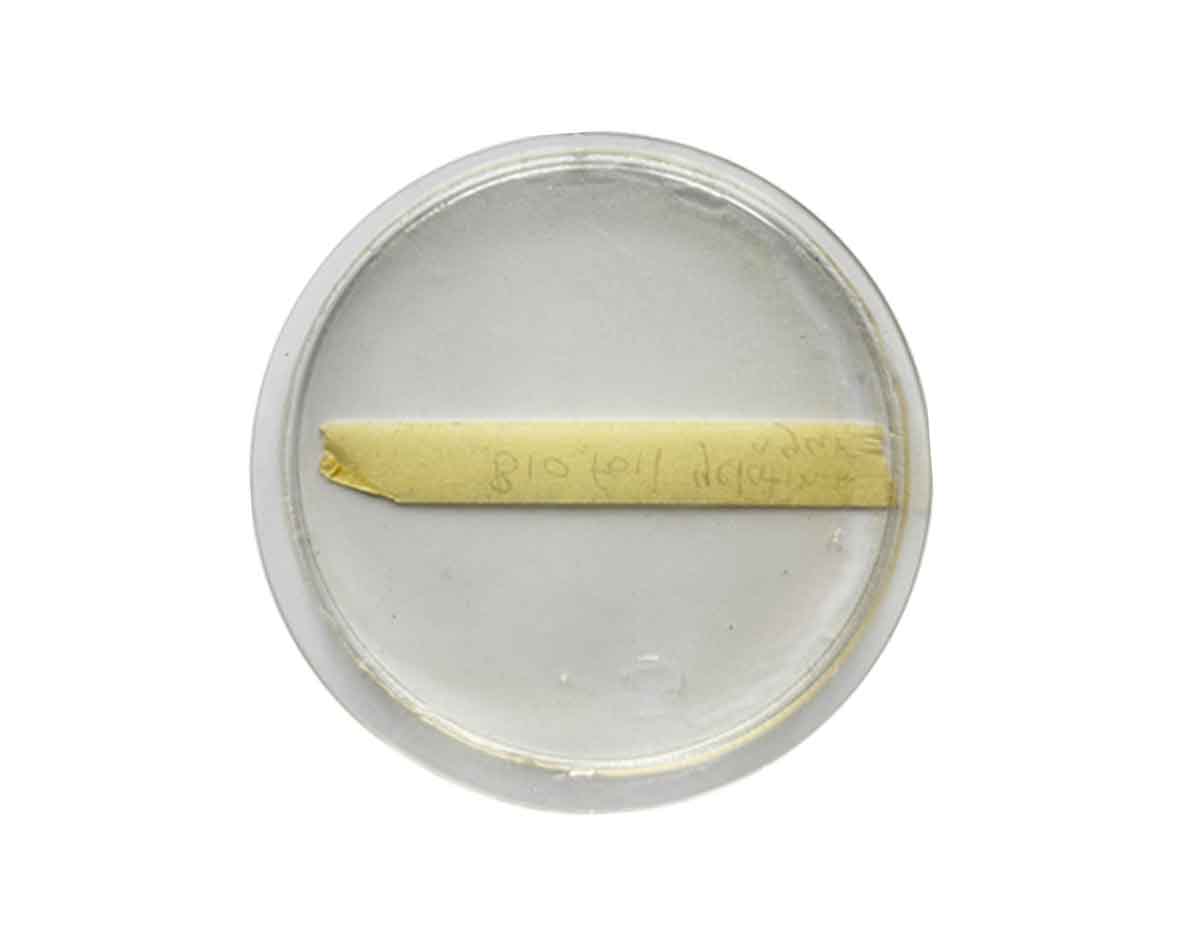
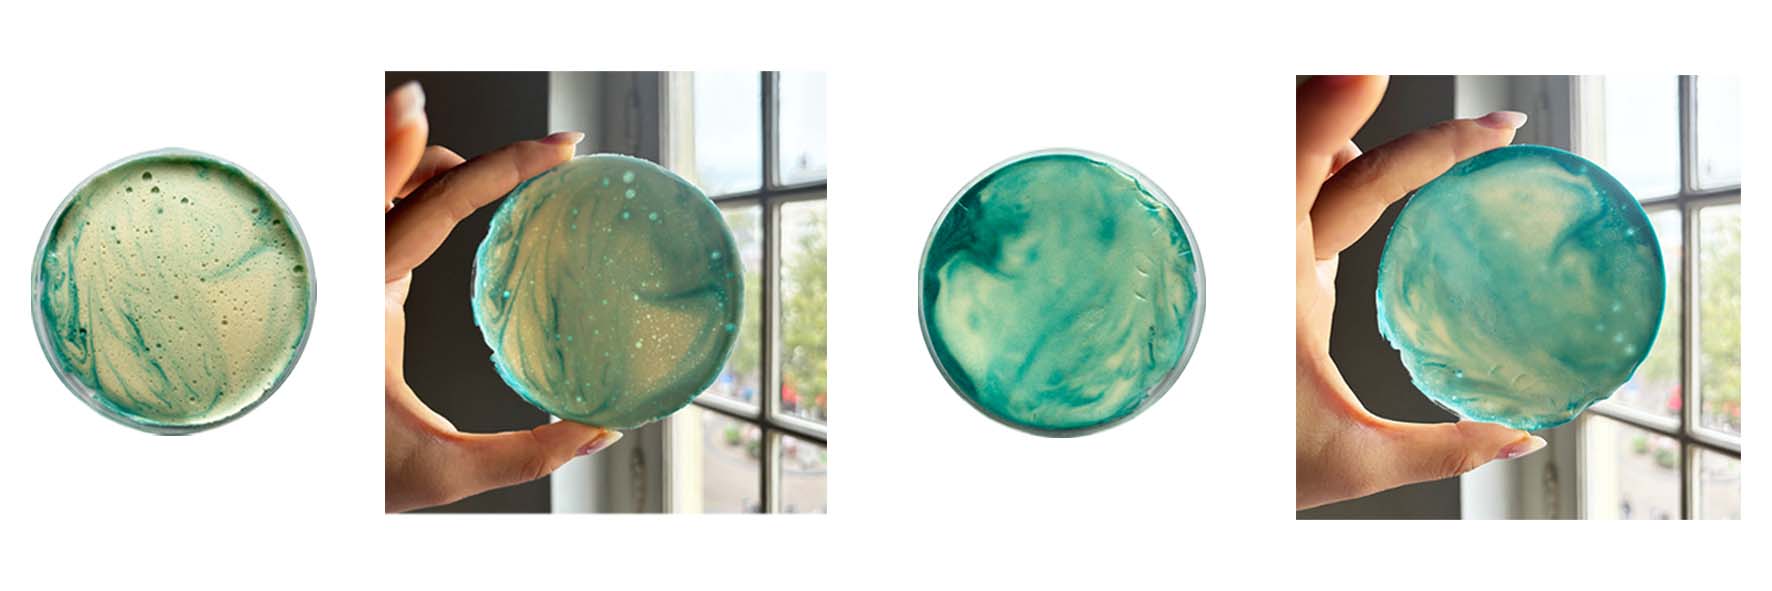
 Alginate Foil Alginate Foil |
 CMC CMC |
 Bio Foam Bio Foam |
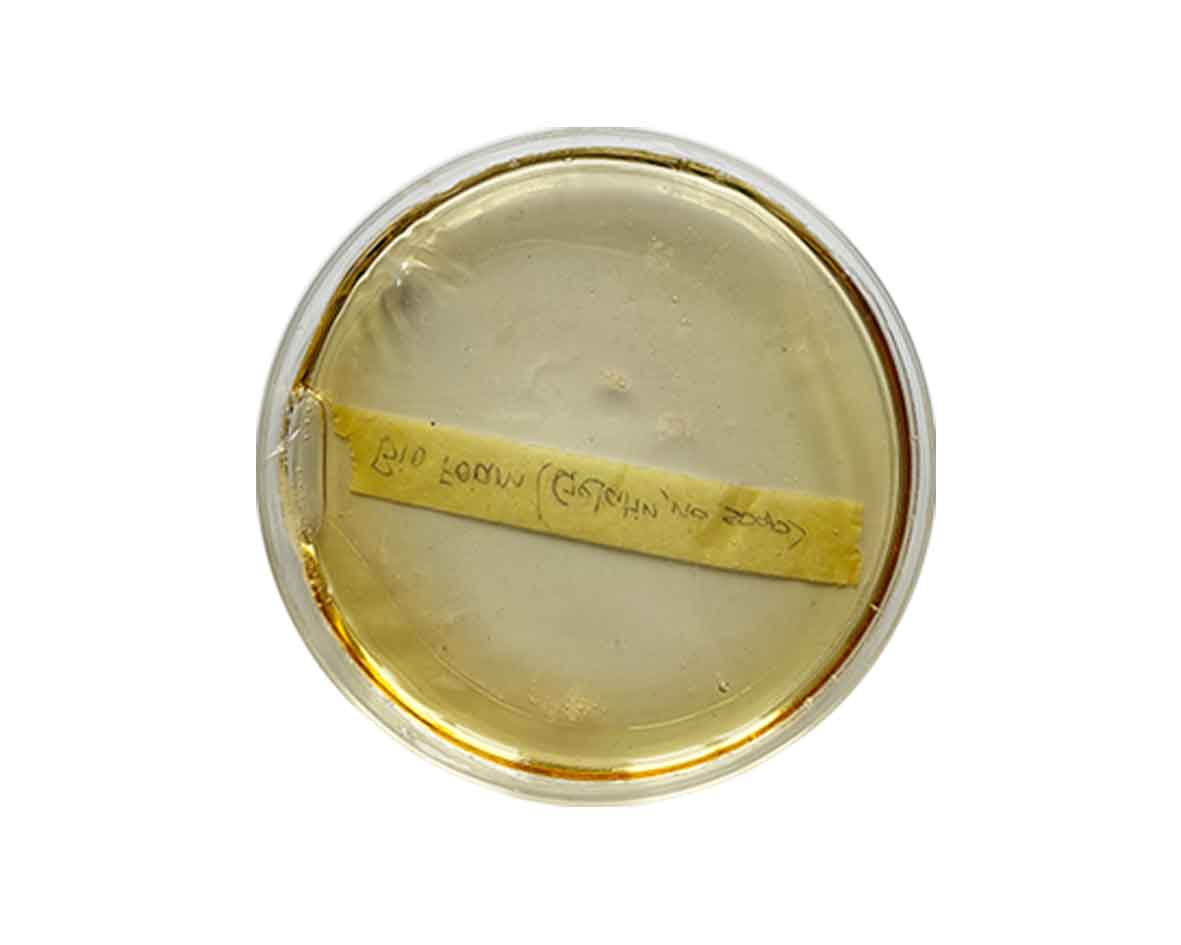
 Bio Resin Bio Resin |
 Bio Foam Bio Foam |
 Alginate foil Alginate foil |
MATERIALITY
| Material pic | Material name | Polymer | Plastifier | Water | Emulsifier | Hardness | Flexibility | Stretchiness | Transparancy |
|---|---|---|---|---|---|---|---|---|---|

|
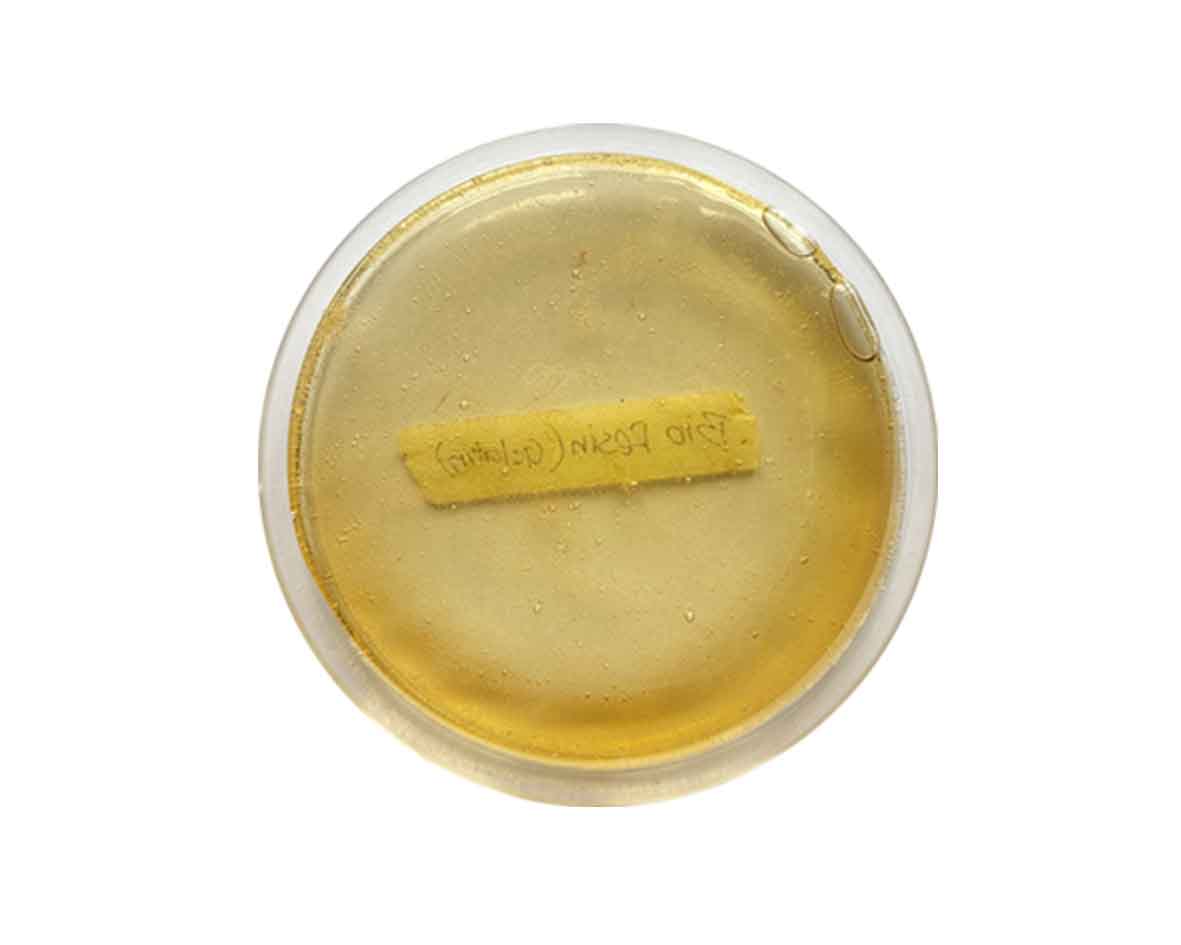
Bio Resin | Gelatin 48gr | Glycerine 8gr | 240ml | None | Hard | Bendable | None | Transparent |

|
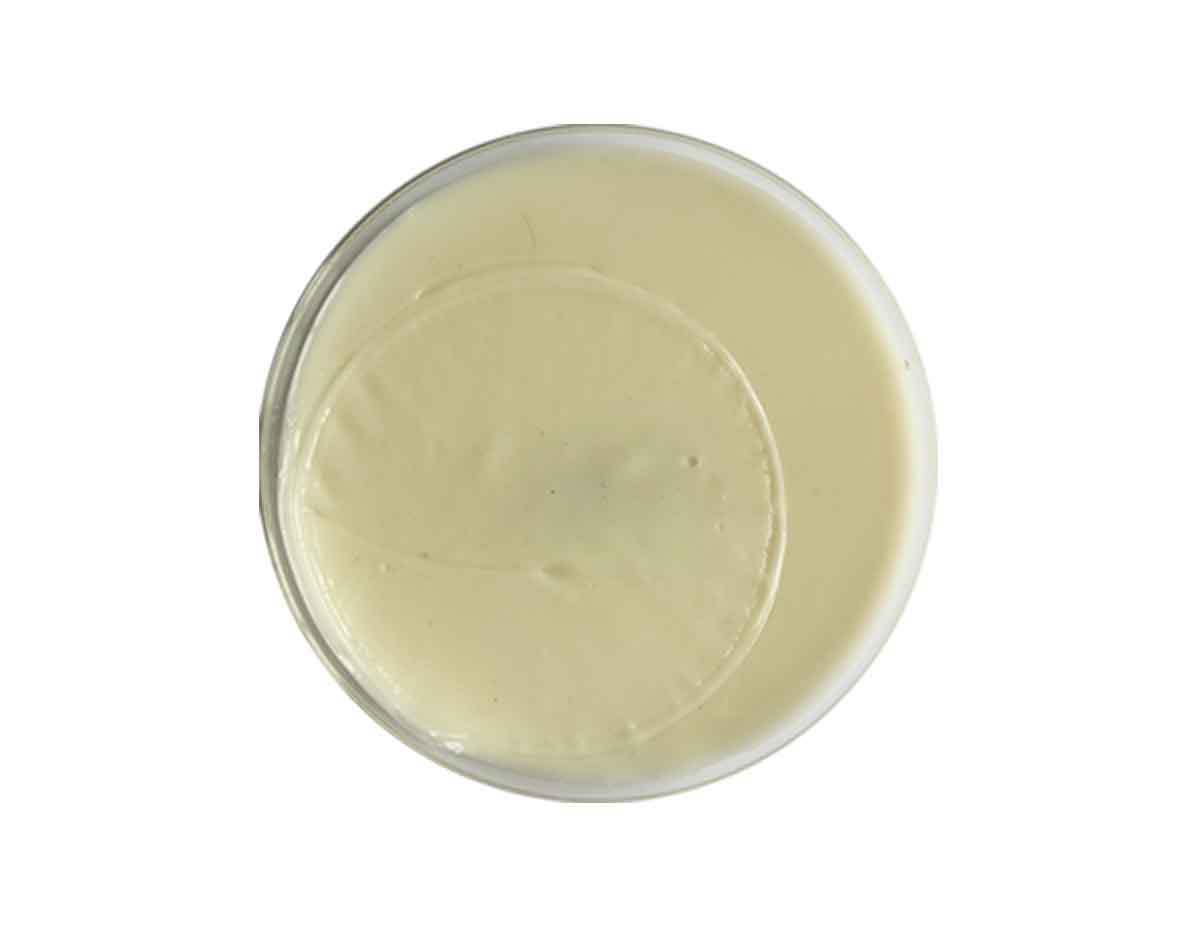
Agar Foil | Agar 4gr | Glycerine 3gr | 400ml | None | Soft | Bendable | Slightly | Opaque |

|
Agar+Gelatin Foil | Agar 3gr Gelatin 20gr | glycerol 15 ml | 400ml | None | Crispy | Bendable | Stretchy | Opaque |

|
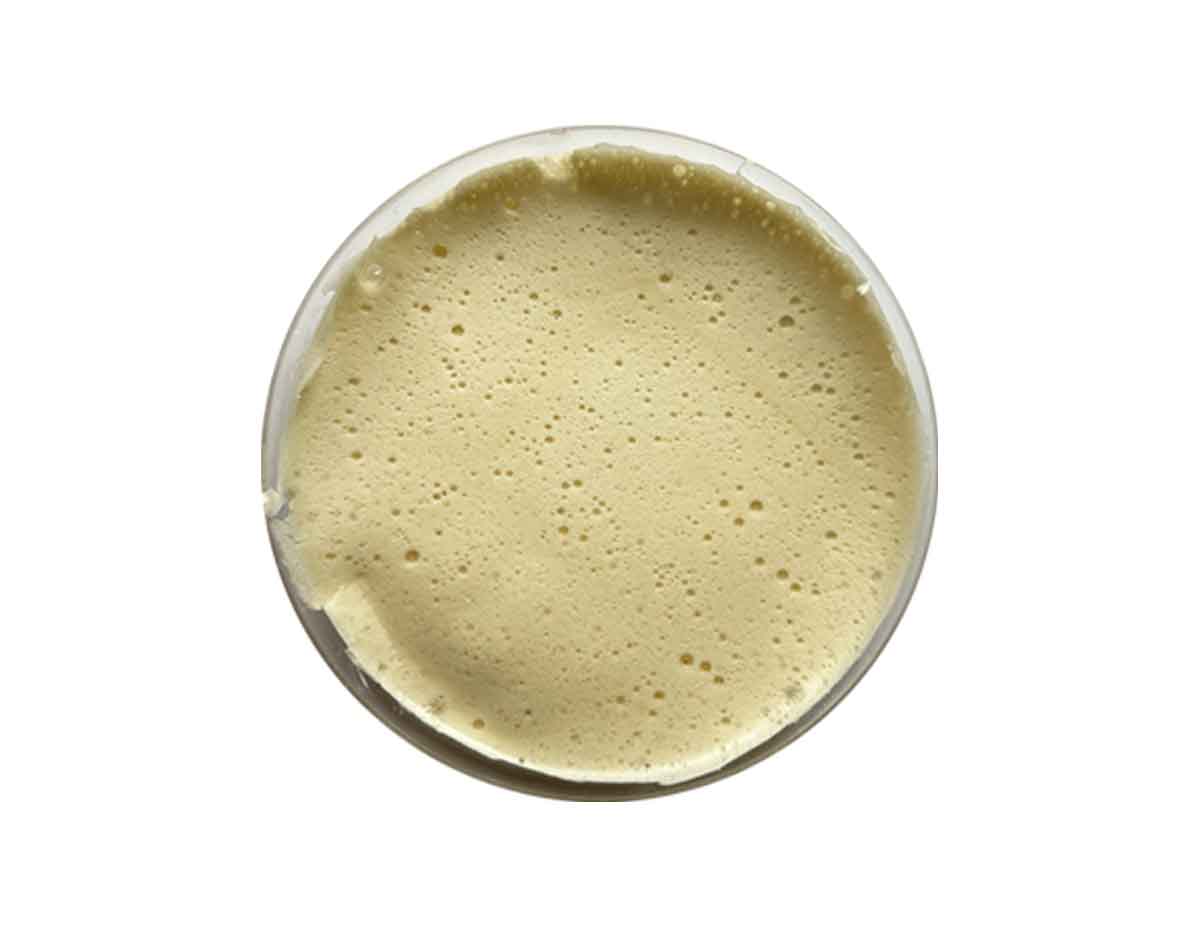
Bio Foam | Gelatin 48gr | Glycerine 8gr | 240ml | None | Hard | Bendable | None | Transparent |

|
Bio Foam | Gelatin 48gr | Glycerine 8gr | 240ml | Soap 1 tbsp | Medium | Bendable | None | None |
GELATIN
BIO FOAM
How To:
-
Warm up the water in a pot on your stove.
-
Add your plasticiser, the glycerine will bond with the gelatin.
-
Add the gelatin.
-
Mix gently the ingredients until they form a smooth mix. Agar can take longer to fully dissolve, if the mix is not smooth, add a gentle heat at 60C to make sure the ingredients mix.
-
Add a table spoon of dishwashing soap to the mixture.
-
Simmer for 10-15 minutes (80C max) Whisking constantly.
-
Prepare the surface and molds.
-
For colouring, prepare your colours in a jar or a small container, to which you will add the mixture once it's ready for casting.
-
Once your mixture has thickened, almost like a syrup, pour on your chosen surface. Once start pouring, try to cast slowly, without inglobating air, and by carefully pouring on the liquid itself.
-
Let the mould dry in a ventilated and dry room, turninng your piece until its dry will help you preventing mould formation, but might affect deformaton due to water loss.
| Filler | Pigment |
|---|---|
| None | Blue Ink |
BIO FOAM WITHOUT SOAP
| Filler | Pigment |
|---|---|
| Eggshells | None |
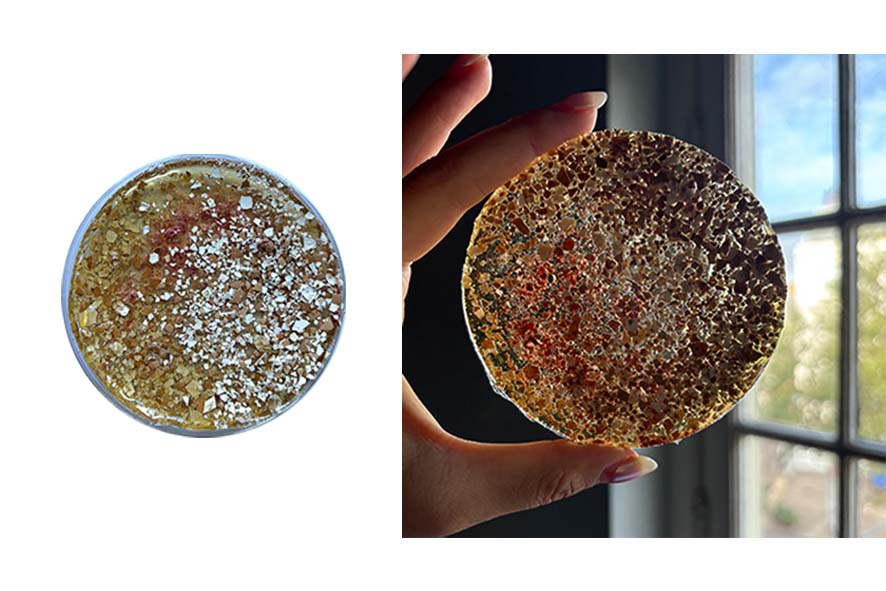
BIO RESIN
How To:
-
Warm up the water in a pot on your stove.
-
Add your plasticiser, the glycerine will bond with the gelatin.
-
Add the gelatin.
-
Mix gently the ingredients until they form a smooth mix.
-
Simmer for 10-15 minutes (80C max)
-
Prepare the surface and molds.
-
For colouring, prepare your colours in a jar or a small container, to which you will add the mixture once it's ready for casting.
-
Once your mixture has thickened, almost like a syrup, pour on your chosen surface. Once start pouring, try to cast slowly, without inglobating air, and by carefully pouring on the liquid itself.
-
Let the mould dry in a ventilated and dry room, turninng your piece until its dry will help you preventing mould formation, but might affect deformaton due to water loss.

| Filler | Pigment |
|---|---|
| Sea Shells | None |

| Filler | Pigment |
|---|---|
| Coffee, Weld | Blue Ink |
AGAR
AGAR FOIL
How To:
-
Warm up the water in a pot on your stove.
-
Add your plasticiser, the glycerine will bond with the Agar.
-
Add the Agar.
-
Mix gently the ingredients until they form a smooth mix. Agar can take longer to fully dissolve, if the mix is not smooth, add a gentle heat at 60C to make sure the ingredients mix.
-
Simmer for 20 minutes (80C max)
-
Prepare the surface and molds. Due to the large amount of water needed for dissolving agar, the casted plastic will shrink both in thickness and width.
-
For colouring, prepare your colours in a jar or a small container, to which you will add the mixture once it's ready for casting.
-
Once your mixture has thickened, almost like a syrup, pour on your chosen surface. Once start pouring, try to cast slowly, without inglobating air, and by carefully pouring on the liquid itself.
-
Let the mould dry in a ventilated and dry room,with agar it is necessary to keep the piece in the mould for a smooth effect.

| Filler | Pigment |
|---|---|
| Seashells, Coffee | Tumeric Powder |

| Filler | Pigment |
|---|---|
| Bamboo Leaves | Charchoal |
AGAR AND GELATIN FOIL
-
Warm up the water in a pot on your stove.
-
Add your plasticiser, the glycerine will bond with the Agar and Gelatin
-
Add the Agar and Gelatin.
-
Mix gently the ingredients until they form a smooth mix. Agar can take longer to fully dissolve, if the mix is not smooth, add a gentle heat at 60C to make sure the ingredients mix.
-
Simmer for 20 minutes (80C max)
-
Prepare the surface and molds. Due to the large amount of water needed for dissolving agar, the casted plastic will shrink both in thickness and width.
-
For colouring, prepare your colours in a jar or a small container, to which you will add the mixture once it's ready for casting.
-
Once your mixture has thickened, almost like a syrup, pour on your chosen surface. Once start pouring, try to cast slowly, without inglobating air, and by carefully pouring on the liquid itself.
-
Let the mould dry in a ventilated and dry room,with agar it is necessary to keep the piece in the mould for a smooth effect.

| Filler | Pigment |
|---|---|
| Coffee | Purple Ink |

| Filler | Pigment |
|---|---|
| Wool | Tumeric Powder |
OBSERVATION
- Agar shrinks more than Gelatin.
- Agar is opaque and gelatin is transparent.
- Wool helped with keeping the original shape of the agar foil solution.
ALGINATE
| Material pic | Polymer | Plastifier | Water | Emulsifier | Transparancy |
|---|---|---|---|---|---|
|
|
Alginate 30gr | Glycerine 100ml | 1lt | None | Transparent |
|
|
Alginate 60gr | Glycerine 100ml | 1lt | Sunflower Oil 50g | Opaque |
Curing Solution
| Calcium Chloride | 1 0g | Water | 100ml |
ALGINATE YARN
How To:
-
Add the destilated water in the measuring cup, alginate powder, glycerol and blend them with blender.
-
Leave the mixure overnight so there isn't any bubbles.
-
Extrude the mixure in a bowl of curing solution with a syringe.
-
Wrap the alginate yarn around a cylinder.
-
Leave to dry.

ALGINATE BIOPLASTICS
How To:
-
Add the destilated water in the measuring cup, alginate powder, glycerol and blend them with blender.
-
Leave the mixure overnight so there isn't any bubbles.
-
Pour the alginate mixture onto the fabric. Spray more calcium chloride on the alginate.
-
Leave to dry.
| Filler | Pigment |
|---|---|
| Coffee | Green Food Dye |
| Coffee | Brown Food Dye |
| None | Mica Powder |
| None | Mica Powder |
WATER SOLUBILITY
Alginate bioplastic fully dissolves in cold water after 1 hour.
FISH LEATHER
We got some salmon skin and eel skin from the local fish shop.
For Preparation:
-
Remove flesh and fibers on the fish skin.
-
Remove the scales.
-
Clean it with a bit of ethanol.

LOTTA RAHME on FISH LEATHER TANNING
Lotta's masterclass tells you everything about tanning fish leather with egg yoke and oil :)
Don't forget to massage your fish once in a while!

After tanning, the fish skin is hard and dry, wash it with water and a bit of soap until it's soft. Give it a massage around a cylinder and leave it to dry again.

KOMBUCHA
KOMBUCHA on 4TH DAY
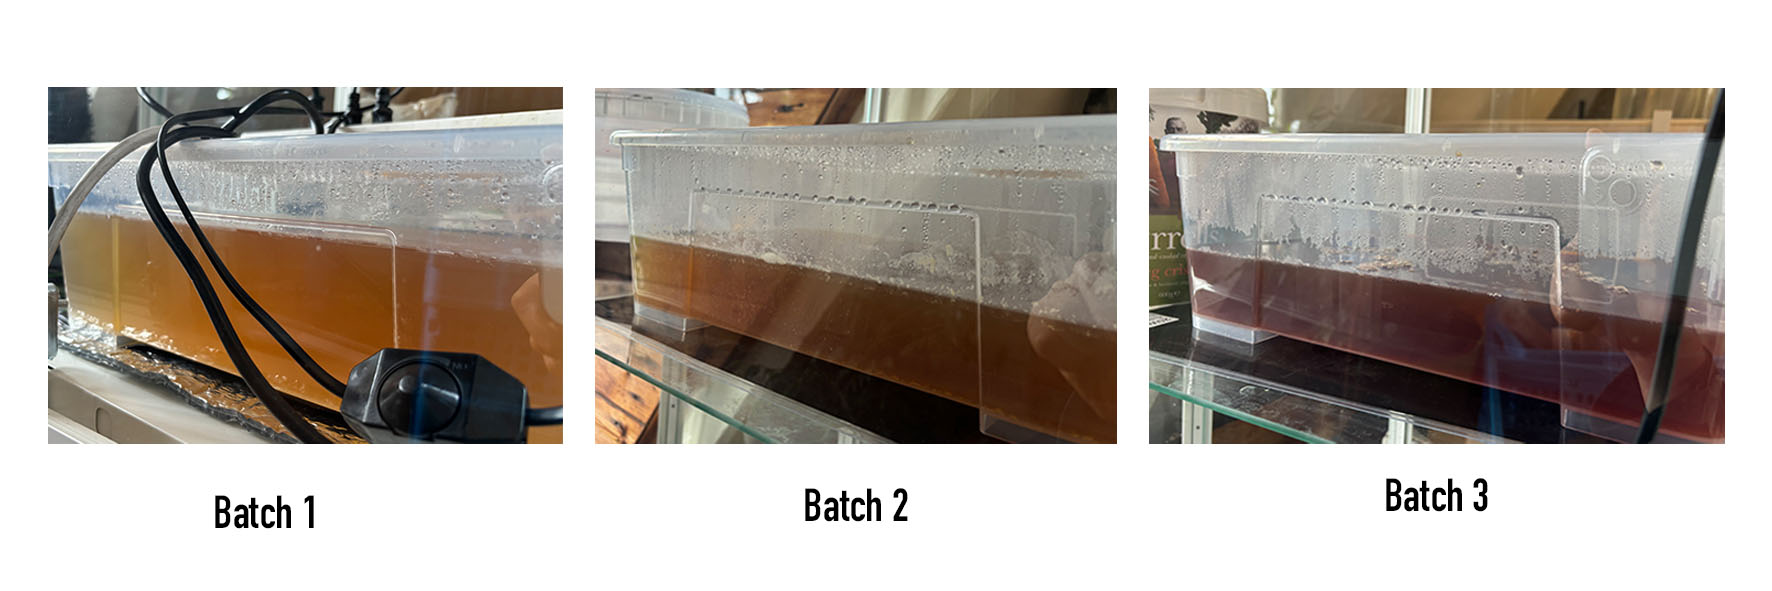
-To Be Continued
TOOLS
- pots, jars
- spoon, tongs, wisk
- molds, textiles, textures, etc