3D Scanning and Printing Assignment
The task for this week's group assignment was to test the design rules for out 3D printer.
The Group
Preparing the file
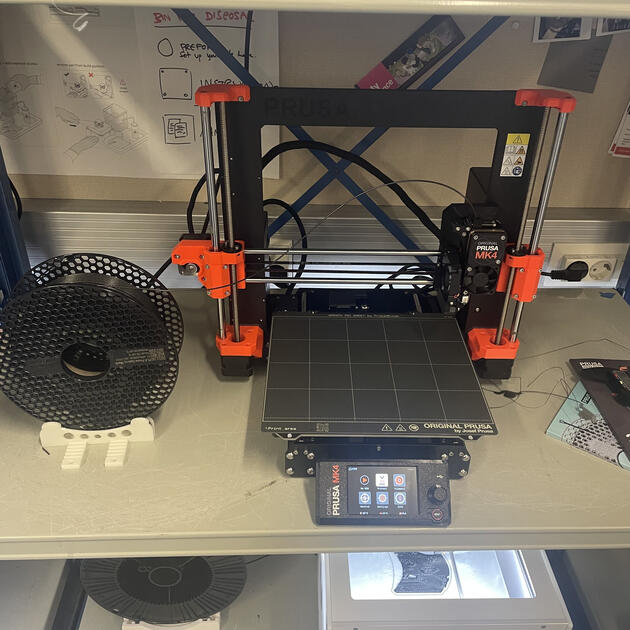
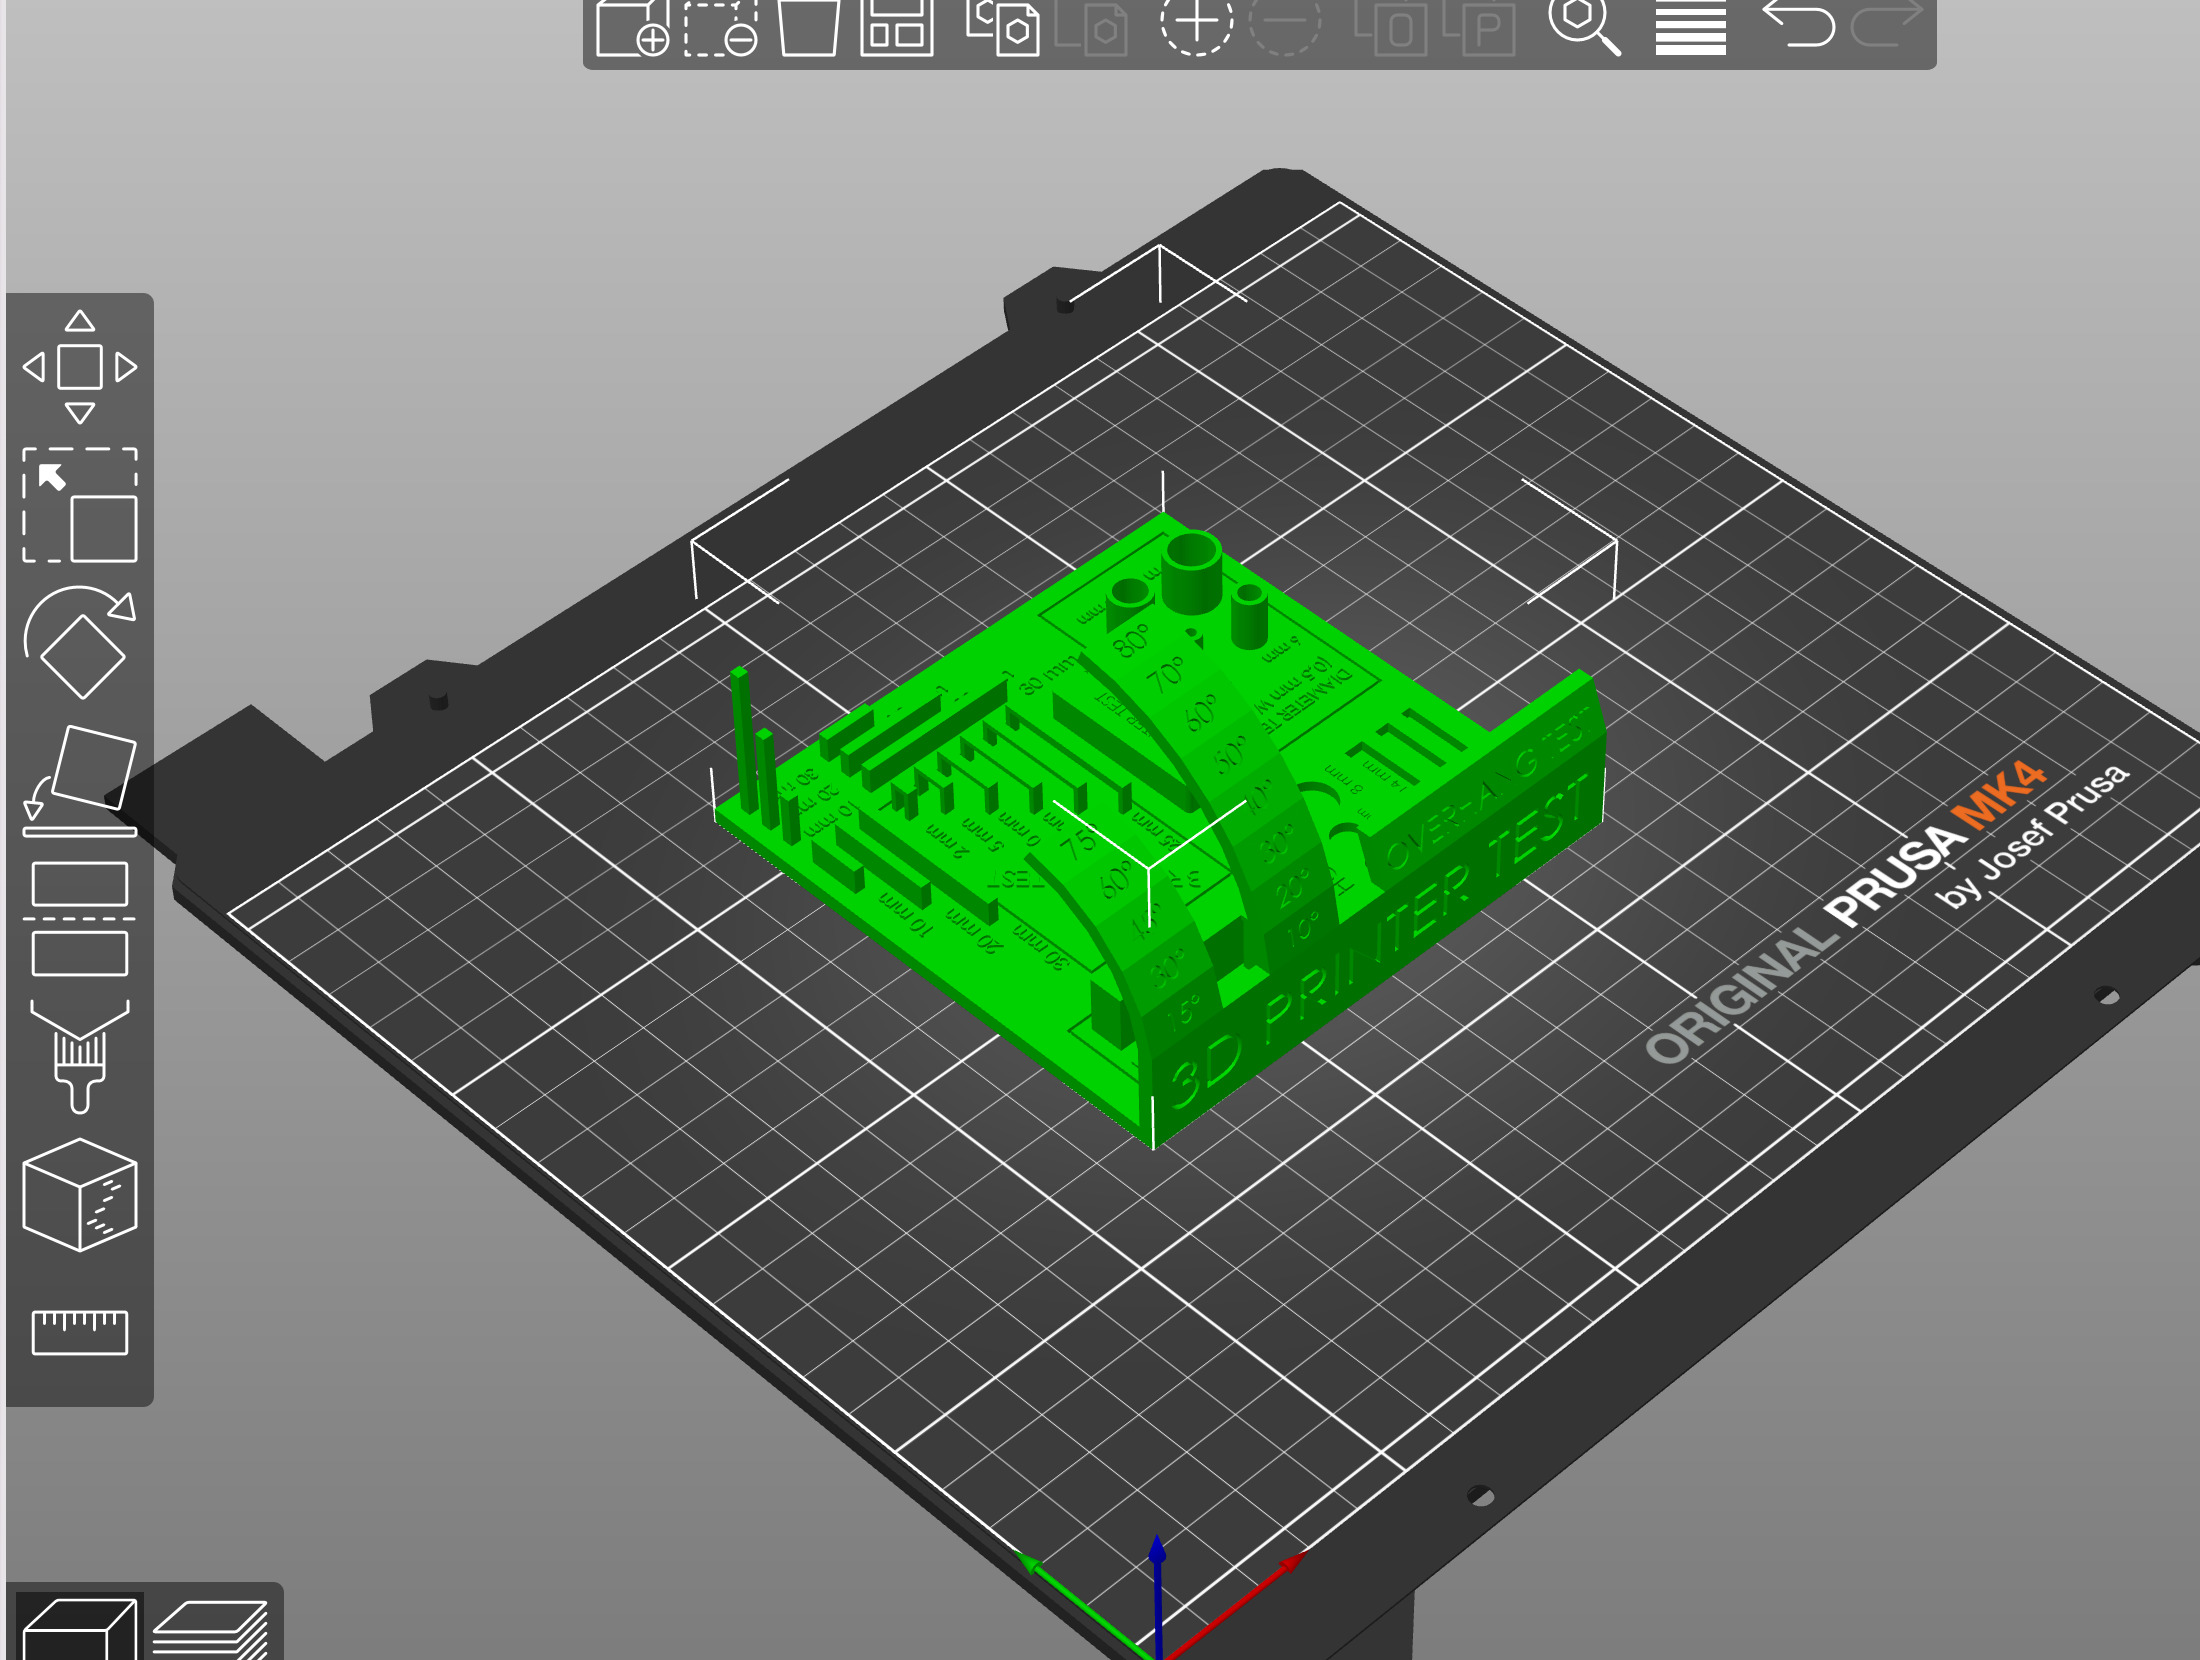
We decided to use all-in-one print test from Thingiverse, to test the priting properties of Prusa MX4 printer we have at lab.
We used the Prusa Slicer. The MX4 series can print very fast compared to other 3D printers - this is because it supports the Input Shaper.
We used a SPEED setting when printing, which the the fastest printing, while compromosing on quality. I was quite curious to see how well will the test go during these circumstances. You can also notice the Input Shaper Setting.

Just before exporting the G-Code, the Slicer warned us about the print stability issues. We think it's because of the overhang test as there were no supports. Cool feature that the slicer can detect that!

Printing
The printing took roughly 2.5 hours, and everything went smoothly.

Video of fast printing:
The final result:

Analising test print
The test piece looks well. The bridges are straight with shart edges and there is no "stringing" (thin hairs of filament between different parts of the print).

You can see that at the 80 degrees the overhang test is starting to loose its shape, and the lines are bit deformed.

The text on the print piece is the worst part of the print, and we think its because of the SPEED printing setting. The text is hard to read (though still redable).

I think we can conclude that this MX4 Prusa printer is well built and callibrated. The fast printing performed better then experctived, only struggling with fine detsils of the print, but the structure of the print is great.