
5. Embedded Programming
This week we are starting off on the embedded programming topics.
Our group assignment was the compare different architecture of micro controller. It is clear to me that choosing the right micro controller is key given to a successful project. The different features, cost, speed form factor etc. will make your project either easier or harder and so taking the time to define that would work best is worth it
Goals
-
Browse through the data sheet for your microcontroller
-
write program for a microcontroller development board to interact (with local input &/or output) and communicate (remotely)
extra credit: use different languages &/or development environments
extra credit: connect external components to the board
Accomplishments: I have had some experience working with Arduino and 412 in the fab academy prep session we have had and so I revisited the 412 for bare metal programming but focused mainly on the RP2040 and the Arduino.
- Reviewed the Data sheet for RP2040 and ESP32-s2
- Made a Morse Code "transmitter" using the RP2040 and C
- Used Micro python for the first time to make the RP2040 blink a LED
- Built a first cut at final project circuitry using the Arduino and C
- Tried out ChatGPT for some of the code development - got a basic structure in place but had to do clean up/changes
- Reviewed the 412 work we did in Prep week with input (Button Photo resistor) and outputs (LEDs)
- Wrote my first bare metal program for the ATTiny 412 to blink an LED
Reading the data sheets RP2040 / ESP32-S2
I reviewed through the data sheetS FOR RP2040 and the ESP32-s2. They are both ery dense and after reading the intro and skimming some of the other areas looking for answers to our group assignment some things start to look more familiar. Especially given the bare metal programming that reviewed in our Lab last week.
R2040 in C
I wanted to start with programming the R2040 to blink using C in the Arduino IDE and MicroPython
I got a set of parts and given the availability in our lab will use the Raspberry Pico for this excersize.
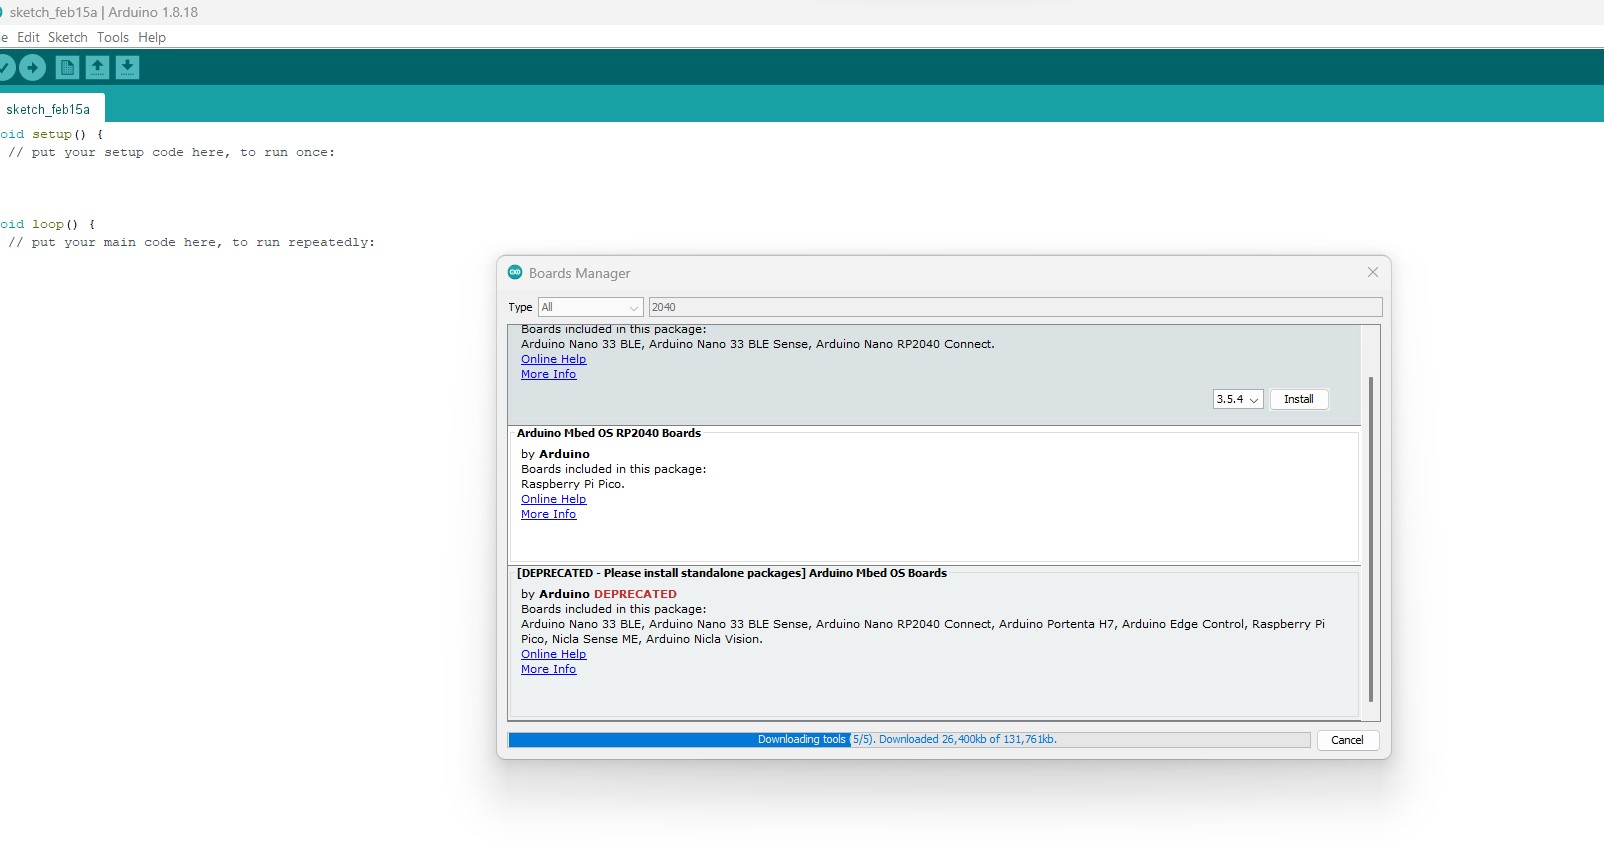
First added the RP2040 to the board manager in the Arudino IDE
I used the Blink built in example in Arudino
// the setup function runs once when you press reset or power the board
void setup() {
  // initialize digital pin LED_BUILTIN as an output.
  pinMode(LED_BUILTIN, OUTPUT);
}

// the loop function runs over and over again forever
void loop() {
  digitalWrite(LED_BUILTIN, HIGH);   // turn the LED on (HIGH is the voltage level)
  delay(1000);                       // wait for a second
  digitalWrite(LED_BUILTIN, LOW);    // turn the LED off by making the voltage LOW
  delay(1000);                       // wait for a second
}
I plugged the Pico in, complied and had the onboard led blinking
I wanted to add button and LED and so first off looked for the pinout map