
- ALGINATE NET
- Tactility & sound impression
- Description
- Physical form
- Fabrication time
- Ingredients
- Tools
- Yield before processing/drying/curing
- Method
- Drying/curing/growth process
- Process
- Variations on this recipe
- Cultural origins of this recipe
- References this recipe draws from
- Known concerns and contestations*
- Sustainability tags
- Material properties
- Comparative qualities
- Technical and sensory properties
- About this entry
- Maker(s) of this sample
- Environmental conditions
- Recipe validation
- Estimated cost (consumables) in local currency
- Local supplier/sourcing info
- Copyright information
- This recipe is in the public domain (CC0)
- This recipe was previously published by someone else
- Images of final product
ALGINATE NET
Tactility & sound impression
Description
a cotton and alginate-based composite with open structure, molded onto a half dome shape
Physical form
Solids
Color without additives: color of the yarn used
Fabrication time
Preparation time: 1 hour (plus resting overnight)
Processing time: 5-7 days
Need attention: None, just leave it to dry in the mold with lots of airflow.
Final form achieved after: 7 days
Ingredients
-
Alginate powder - 24 gr
- the polymeer (so it becomes a solid)
-
Glycerine - 40 gr
- the plasticizer that bonds with the alginate (makes it flexible).
-
Water - 800 ml/gr
- to dissolve and mix the polymeer and plasticizer
-
Yarn - cotton, 2 metres
- to create the net
-
Calcium chloride solution 10%
- curing agent: spraying it onto the alginate plastic starts the curing process. Use 10 gr of calcium chloride in 100gr hot water (see below)
Tools
- Scale
- Spoon
- Blender
- Glass jar with lid
- Spray bottle (150 ml contents, for the calcium chloride solution)
- Circular loom OR: nails and a wooden board to design the net
- Moulds for shaping the net, e.g. two identical bowls that fit inside one another
- Acrylic sheet to catch the excess alginate mixture (can be scooped up and reused before curing)
Yield before processing/drying/curing
Approx. 300 ml (make sure to evaporate a lot of water during cooking time)
Method
-
Preparation
- Weigh your ingredients
- Prepare the mold and find a place where you can leave it for a while, ideally near an open window where there's air flow.
-
Mixing and dissolving the ingredients
- bring the water to the boil
- optional: add natural dye if you wish to use color
- add the glycerine
- add the gelatine
- keep the temperature below 80 degrees celcius while stirring very very slowly and gently to avoid making bubbles. I prefer a simple spoon to do this, not a whisk.
-
Cooking the ingredients
- Simmer and slowly stir the mixture between 60-80 degrees celcius for at least 20 minutes or up to an hour. Turn it lower when bubbles appear: you don't want the liquid to move, don't boil it. This sample has some bubbles due to vigorous mixing.
- Longer cooking time allows more water to evaporate. You will get a thicker liquid. To cast larger volumes and solids with this recipe, evaporate a lot of water, until it's very thick.
-
Casting
- Let the liquid cool for a couple minutes until it gels a little but is still liquid and pourable.
- Cast into the mould slowly to avoid bubbles
- Pour from the middle and hold still, let the liquid distribute itself.
- Put the mould away to dry in a cool place with lots of air flow (like near an open window). A warmer place might speed up the drying process but also allow bacteria to grow faster and can result in fungal growth.
- If the mould has a removable base, remove it after 4-8 hours and put the mould on its side to allow air flow from both sides.
- When using a flexible mould: let it dry without releasing to keep the form as much as possible. The resin will likely shrink and release itself from the mold. If it feels cold to the touch it is still drying. If you are using a rigid mold: release after 4-8 hours and dry flat.
Drying/curing/growth process
- Mold depth: 7 cm (filled up until 2.5cm high)
- Shrinkage thickness: 20-30 %
- Shrinkage width/length: 20-30 %
Shrinkage and deformation control
Letting it dry up to ten days to get to the final form. It will be flexible at first but will slowly harden until its totally rigid.
Curing agents and release agents
None.
Minimum wait time before releasing from mold
Using a silicon mold: 7 days (or until it comes undone)
Post-processing
Store in a dry and ventilated room.
Further research needed on drying/curing/growth?
Casting larger volumes without growing fungus/mold, and limited warping can be challenging. Fillers like debris or egg shells can help. More research can be done on ideal conditions for drying larger volumes.
The resin does not cure evenly across the surface, some might be negotiated by shaving off some slides while it is still relatively soft and flexible.
Process
 Making a net-like structure on a loom (does not have to be "proper" weaving), Loes Bogers, 2020
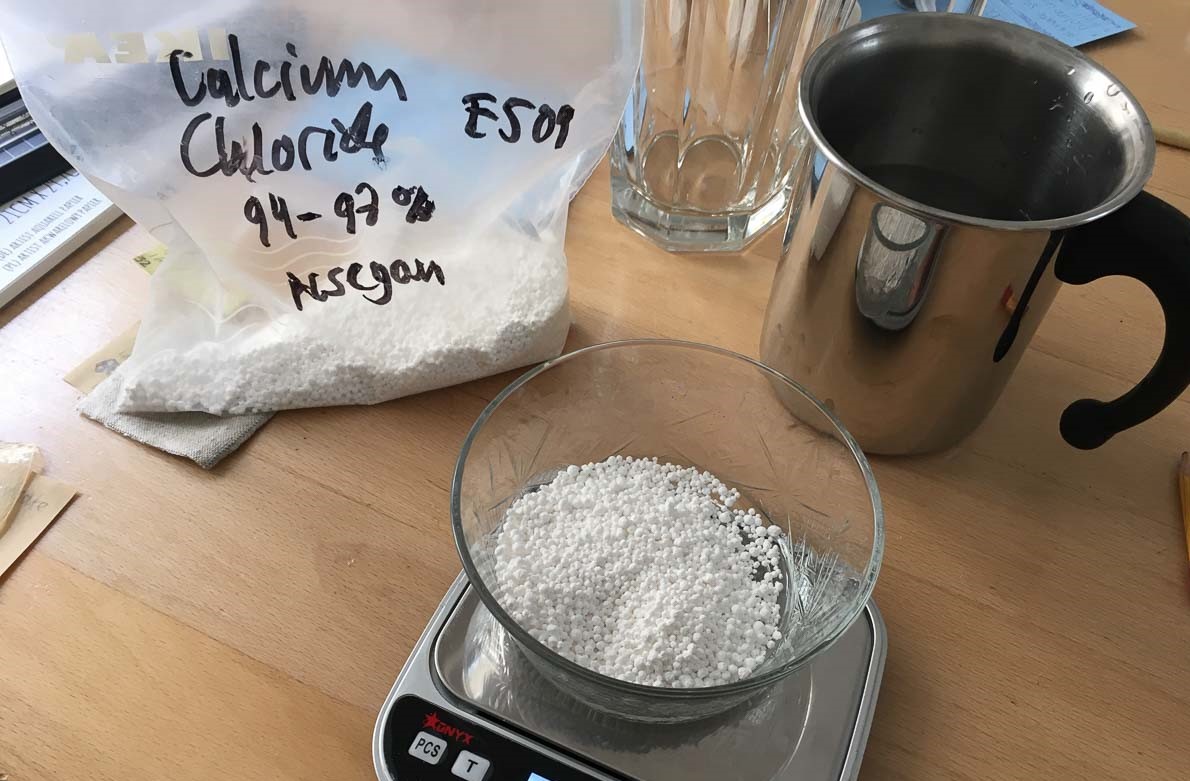 Preparing a 10% calcium chloride solution with hot water, Loes Bogers, 2020
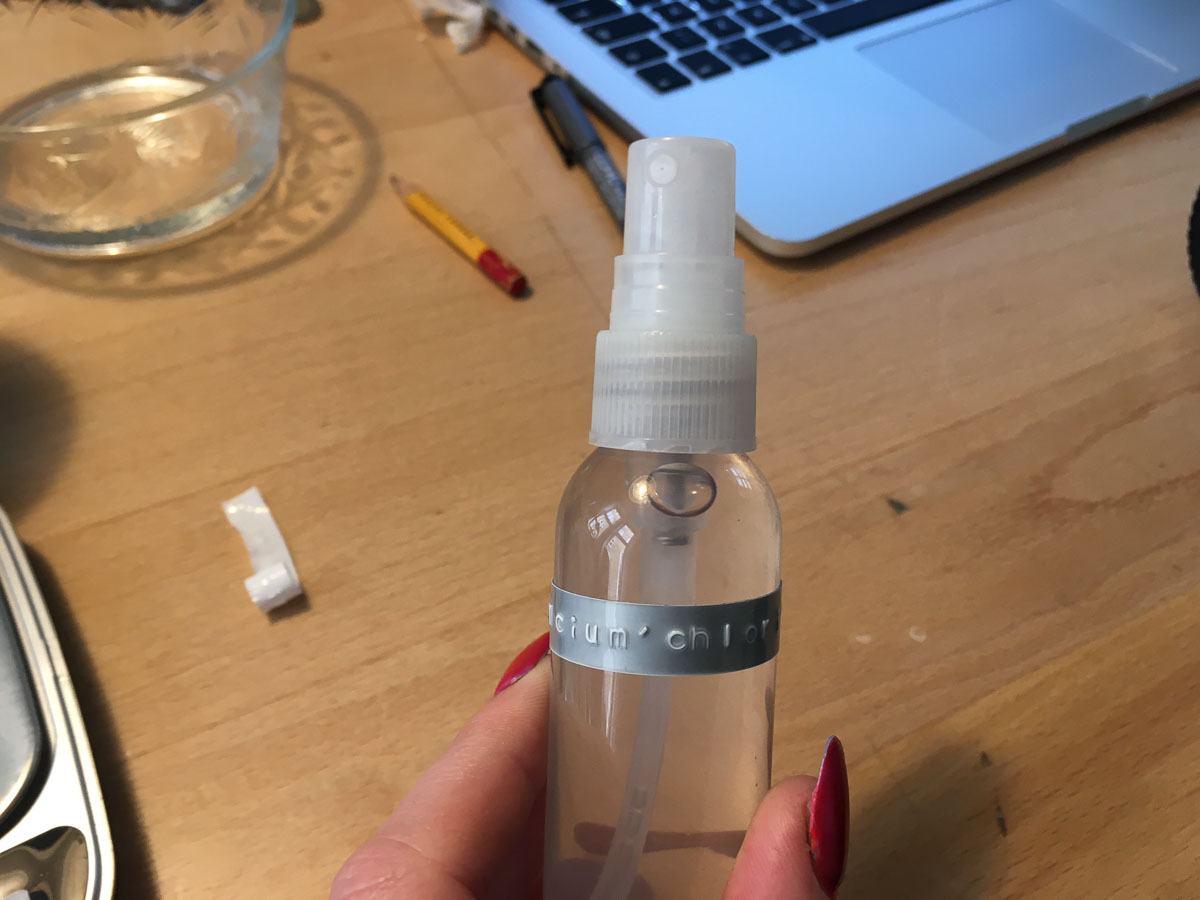 The calcium chloride solution in a spray bottle, Loes Bogers, 2020
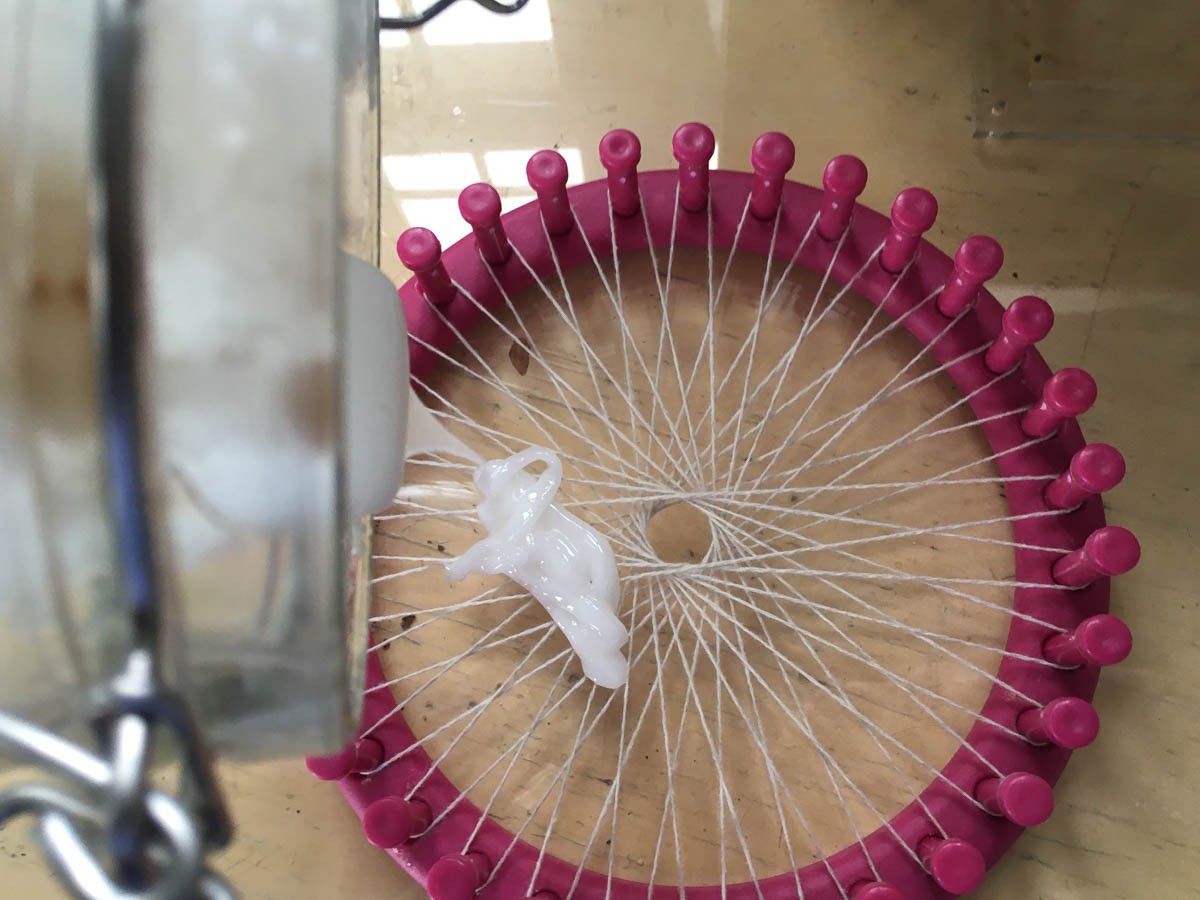 Pouring the alginate mixture onto net, Loes Bogers, 2020
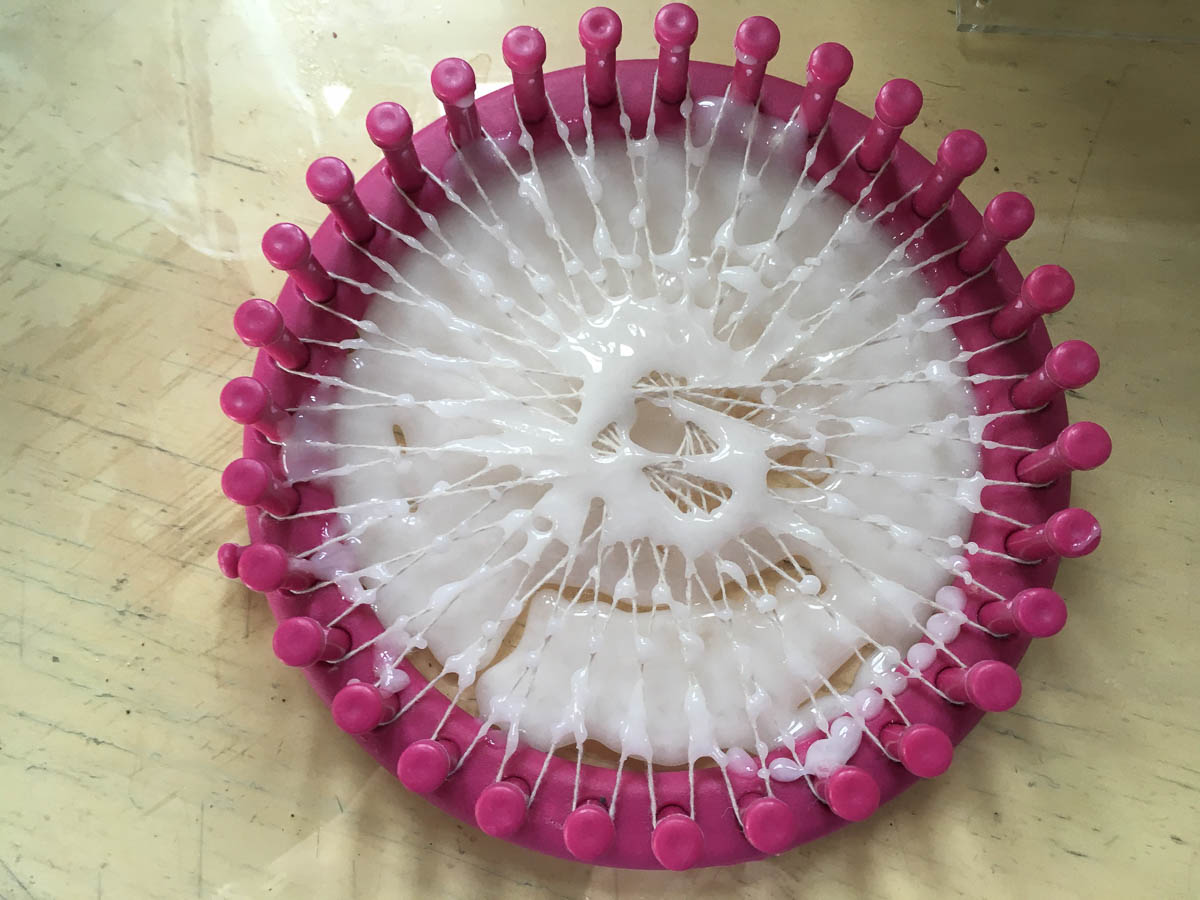 You can pour a lot and scoop up the excess to use again later, Loes Bogers, 2020
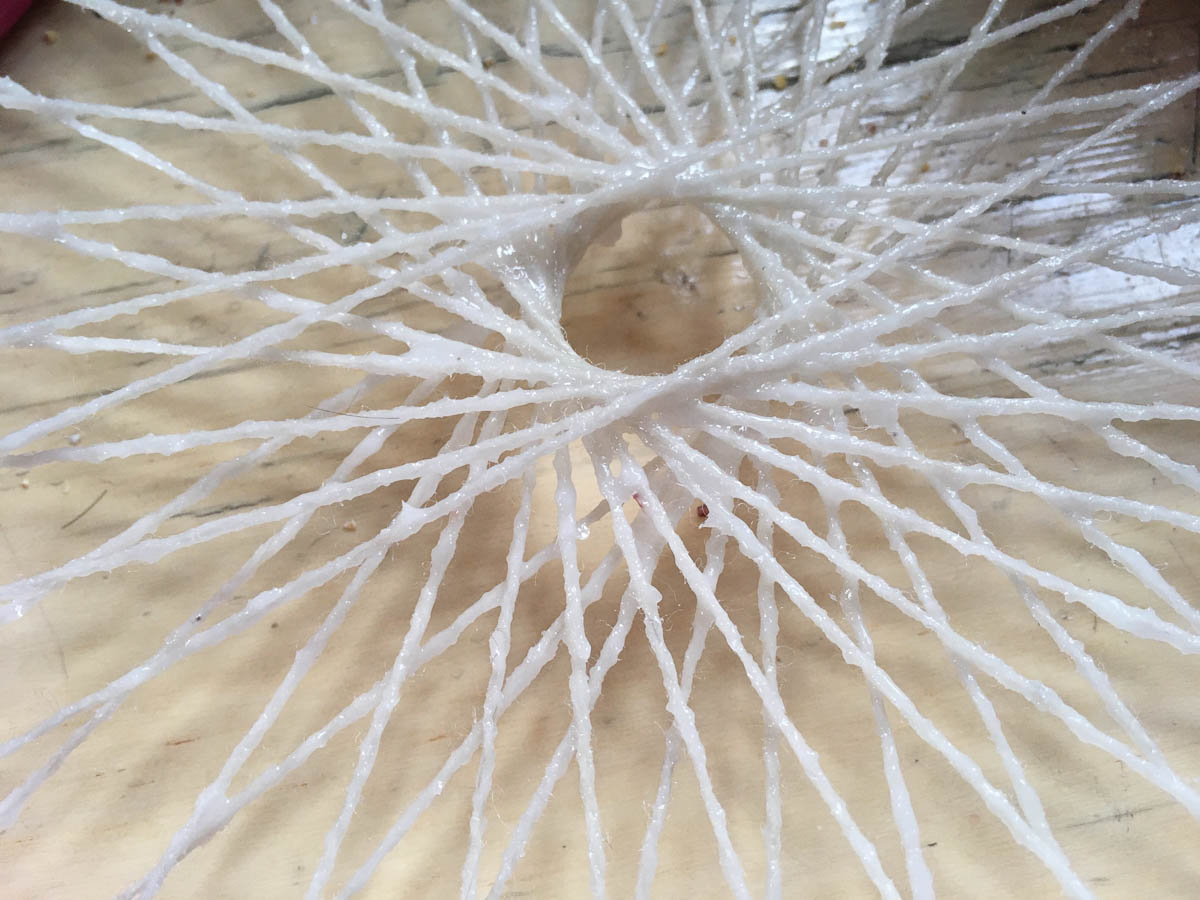 Alginate evenly distributed along the yarn lines, Loes Bogers, 2020
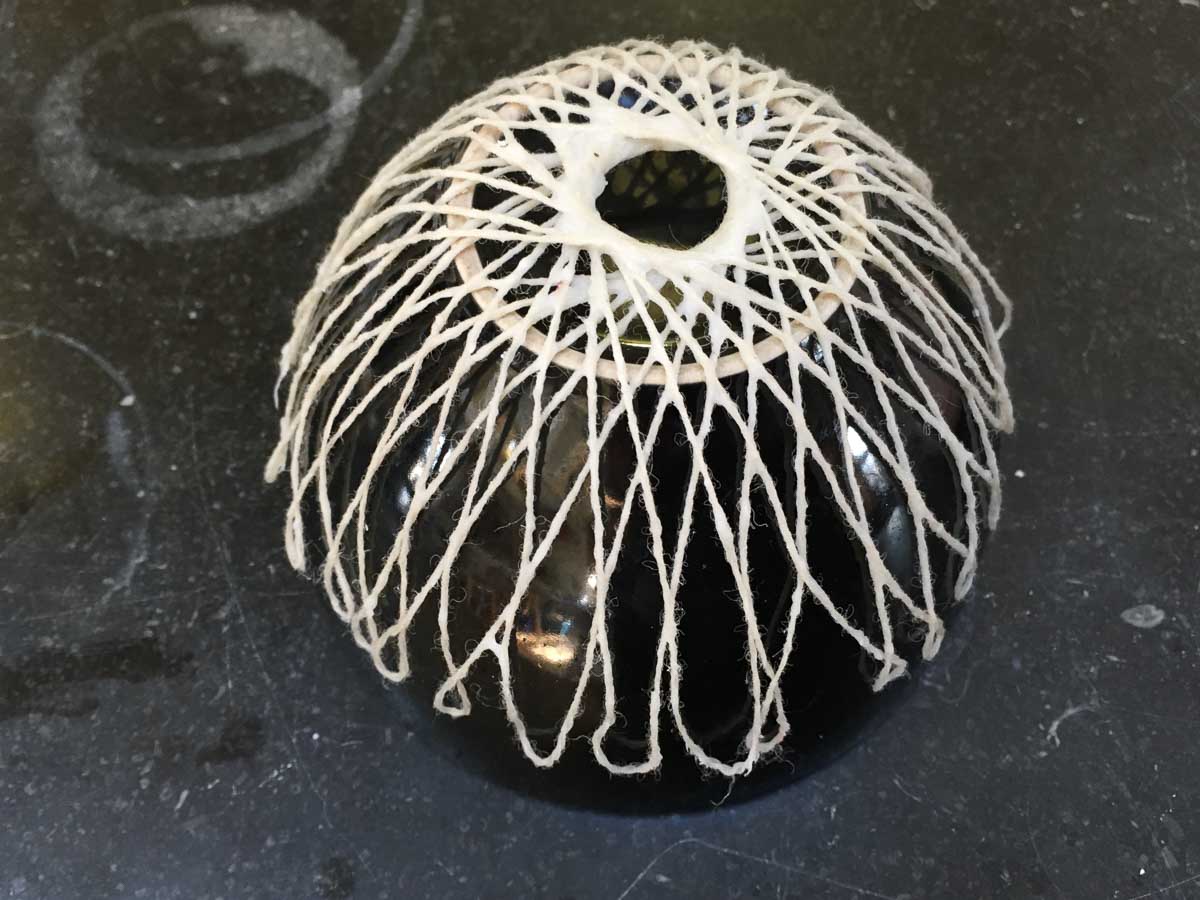 Letting the alginate net cure and dry on top of a half-dome shape, Loes Bogers, 2020
Variations on this recipe
- Add a natural colorant such as a vegetable dye or water-based ink (e.g. hibiscus, beetroot, madder)
- Add less glycerine for a more rigid foil
- Stiffeners such as fibres, yarn or natural debris may be added for more structure and reinforcement.
- Fillers such as almond or sunflower oil, can be added to prevent additional shrinkage but might affect stickyness.
Cultural origins of this recipe
Bioplastic production is older than petrol based plastics. In 1500 BC, people in Egypt were already using glues based on gelatin, casein and albumin for furniture constructions. Gelatin casting as a technique has also been used in production of jelly-based foods such as aspic, jelly desserts and candy.
Needs further research? Not sure
References this recipe draws from
- Bioresin (gelatin) Recipe by Cecilia Raspanti (Textile Lab, Waag), Fabricademy Class "Biofabricating", 2019, link.
- The Bioplastics Cookbook: A Catalogue of Bioplastics Recipes by Margaret Dunne for Fabtextiles, 2018, link
Known concerns and contestations*
Needs further research
Gelatin is an animal-based ingredient. Some might find it problematic to use resources that requires killing an animal because of religious or animal welfare beliefs. Arguments are also made that as long as there's a meat industry, it is better to use product from the entire animal, including skin and bones. Some might consider gelatin to be a product that comes from a waste stream, but this is considered controversial by others.
Acrylic (for the mold) is a petrol based plastic but results in very shiny foils and sheets and can be reused endlessly for casting high quality bioplastic sheets.
Using renewable ingredients is not by definition petrol-free. Imagine they have to travel long distances by plane, boat or truck: it takes fuel. Also, the effects of GMO technologies and pesticides can be harmful to the environment and it's worth using knowing the source and production standards involved. If you can afford it, buying organic ingredients is a good starting point.
Sustainability tags
- Renewable ingredients: yes
- Vegan: no
- Made of by-products or waste: no
- Biocompostable final product: yes
- Reuse: yes, by melting and recasting
Needs further research?: not sure
Gelatine-based bioplastics can be recasted by melting them in a pot with some water. Recycling them with PET plastics contaminates the waste stream. Compost bioplastics in a warm environment with sufficient airflow.
Material properties
Comparative qualities
This resin is dense and rather heavy, but not rock hard like synthetic epoxy or cold like glass. It keeps certain level of bounciness to it.
Technical and sensory properties
- Strength: strong
- Hardness: rigid
- Transparency: transparent
- Glossiness: matt
- Weight: heavy
- Structure: closed
- Texture: medium
- Temperature: medium
- Shape memory: high
- Odor: moderate in final product, high during production
- Stickiness: low
- Weather resistance: low
- Acoustic properties: needs further research
- Anti-bacterial: needs further research
- Non-allergenic: needs further research
- Electrical properties: needs further research
- Heat resistance: low
- Water resistance: water resistant
- Chemical resistance: needs further research
- Scratch resistance: moderate
- Surface friction: medium
- Color modifiers: none
About this entry
Maker(s) of this sample
- Name: Loes Bogers
- Affiliation: Fabricademy student at Waag Textile Lab Amsterdam
- Location: Rotterdam, the Netherlands
- Date: 06-03-2020 – 16-03-2020
Environmental conditions
- Outside temp: 5-11 degrees Celcius
- Room temp: 18 – 22 degrees Celcius
- PH tap water: 7-8
Recipe validation
Has recipe been validated? Yes
By Cecilia Raspanti, Textile Lab, Waag Amsterdam, 9 March 2020
Estimated cost (consumables) in local currency
2,56 Euros for a yield of approx 300 ml
Local supplier/sourcing info
Gelatin powder - Jacob Hooy (online retailers) Glycerine 1.23 - Orphi/Chempropack (online retailers) Molds - Houseware stores, thrift shops
Copyright information
This recipe is in the public domain (CC0)
Yes
This recipe was previously published by someone else
Yes, in: Bioresin (gelatin) Recipe by Cecilia Raspanti (Textile Lab, Waag), Fabricademy Class "Biofabricating", 2019, link.
##References
- The Secrets of Bioplastic by Clara Davis (Fabtex, IAAC, Fab Lab Barcelona), 2017, link.
- The Bioplastics Cookbook: A Catalogue of Bioplastics Recipes by Margaret Dunne for Fabtextiles, 2018, link
- Bioresin (gelatin) Recipe by Cecilia Raspanti (Textile Lab, Waag), Fabricademy Class "Biofabricating", 2019, link.
Images of final product
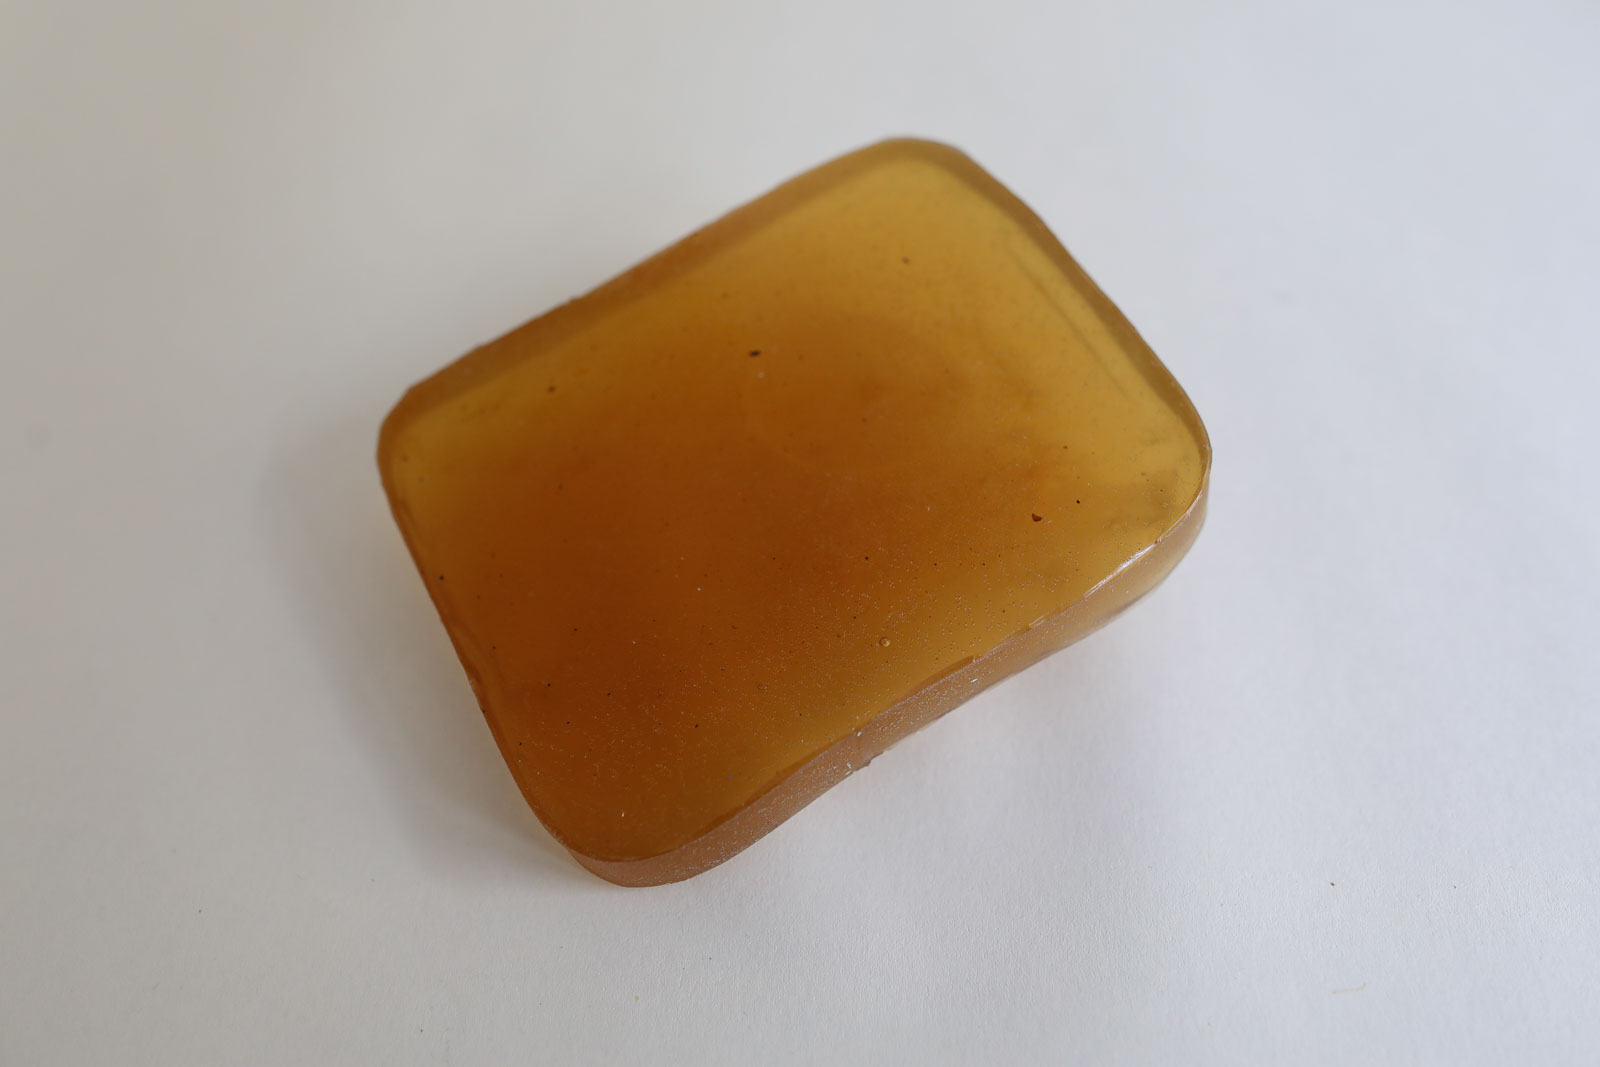 Bioresin slab, Loes Bogers, 2020
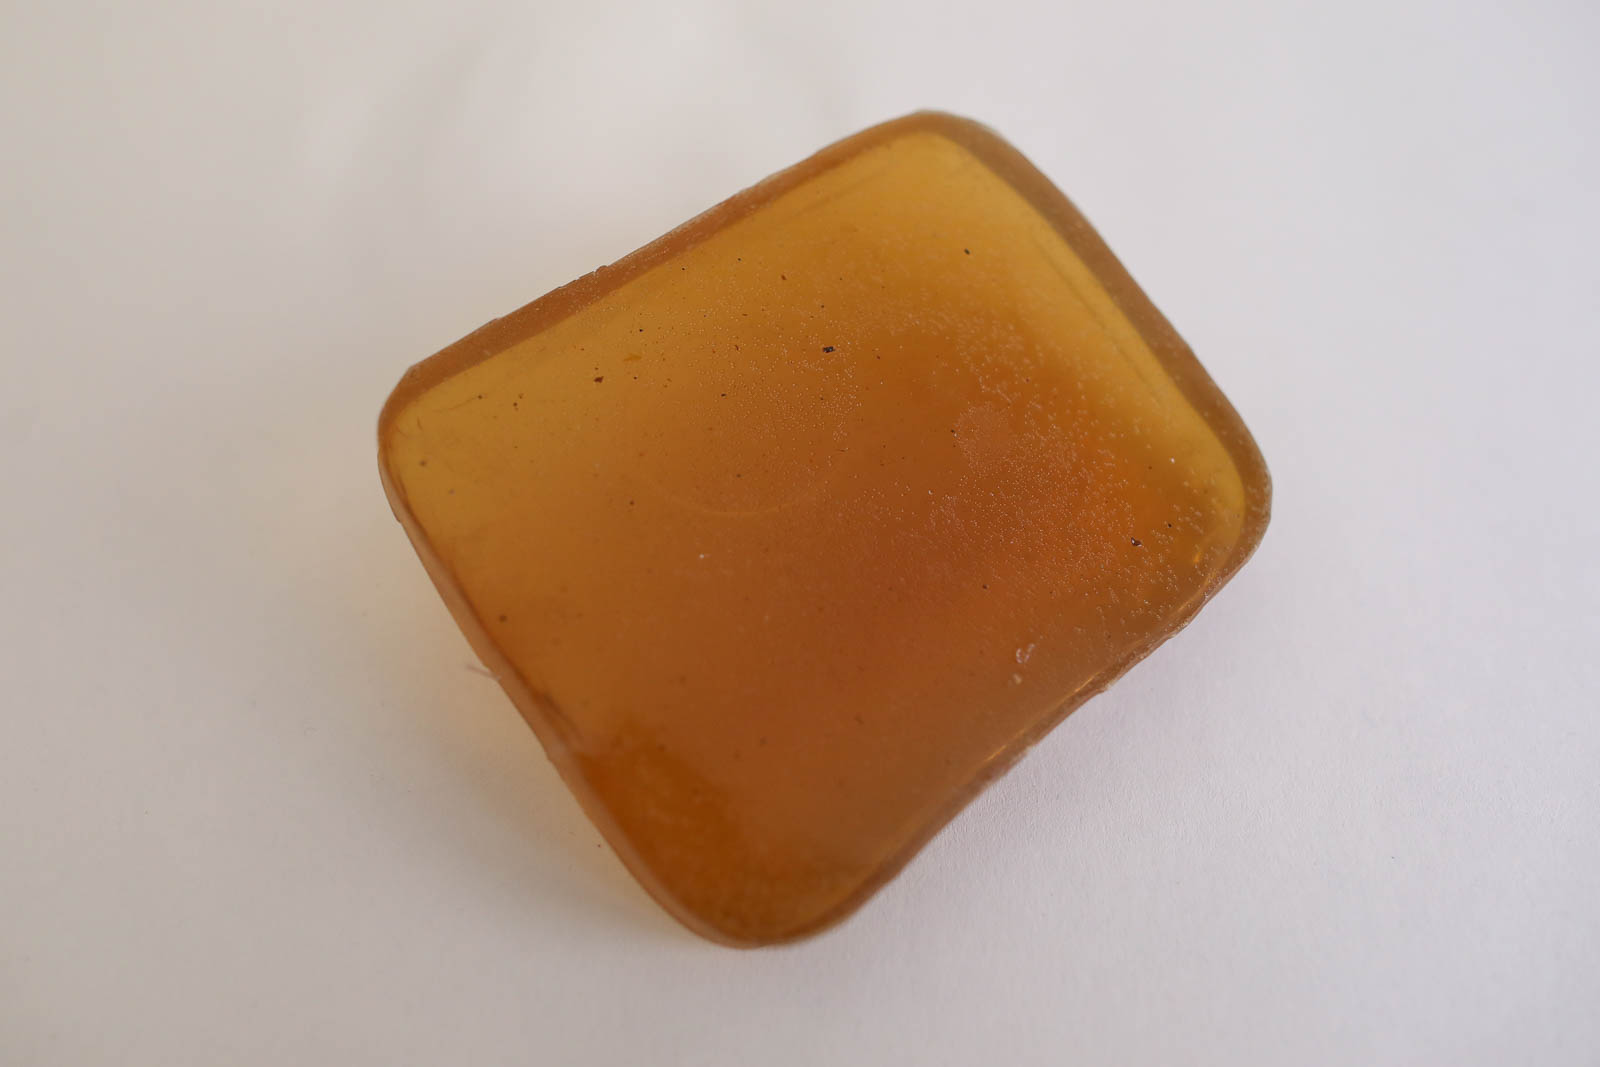 Bioresin slab, Loes Bogers, 2020
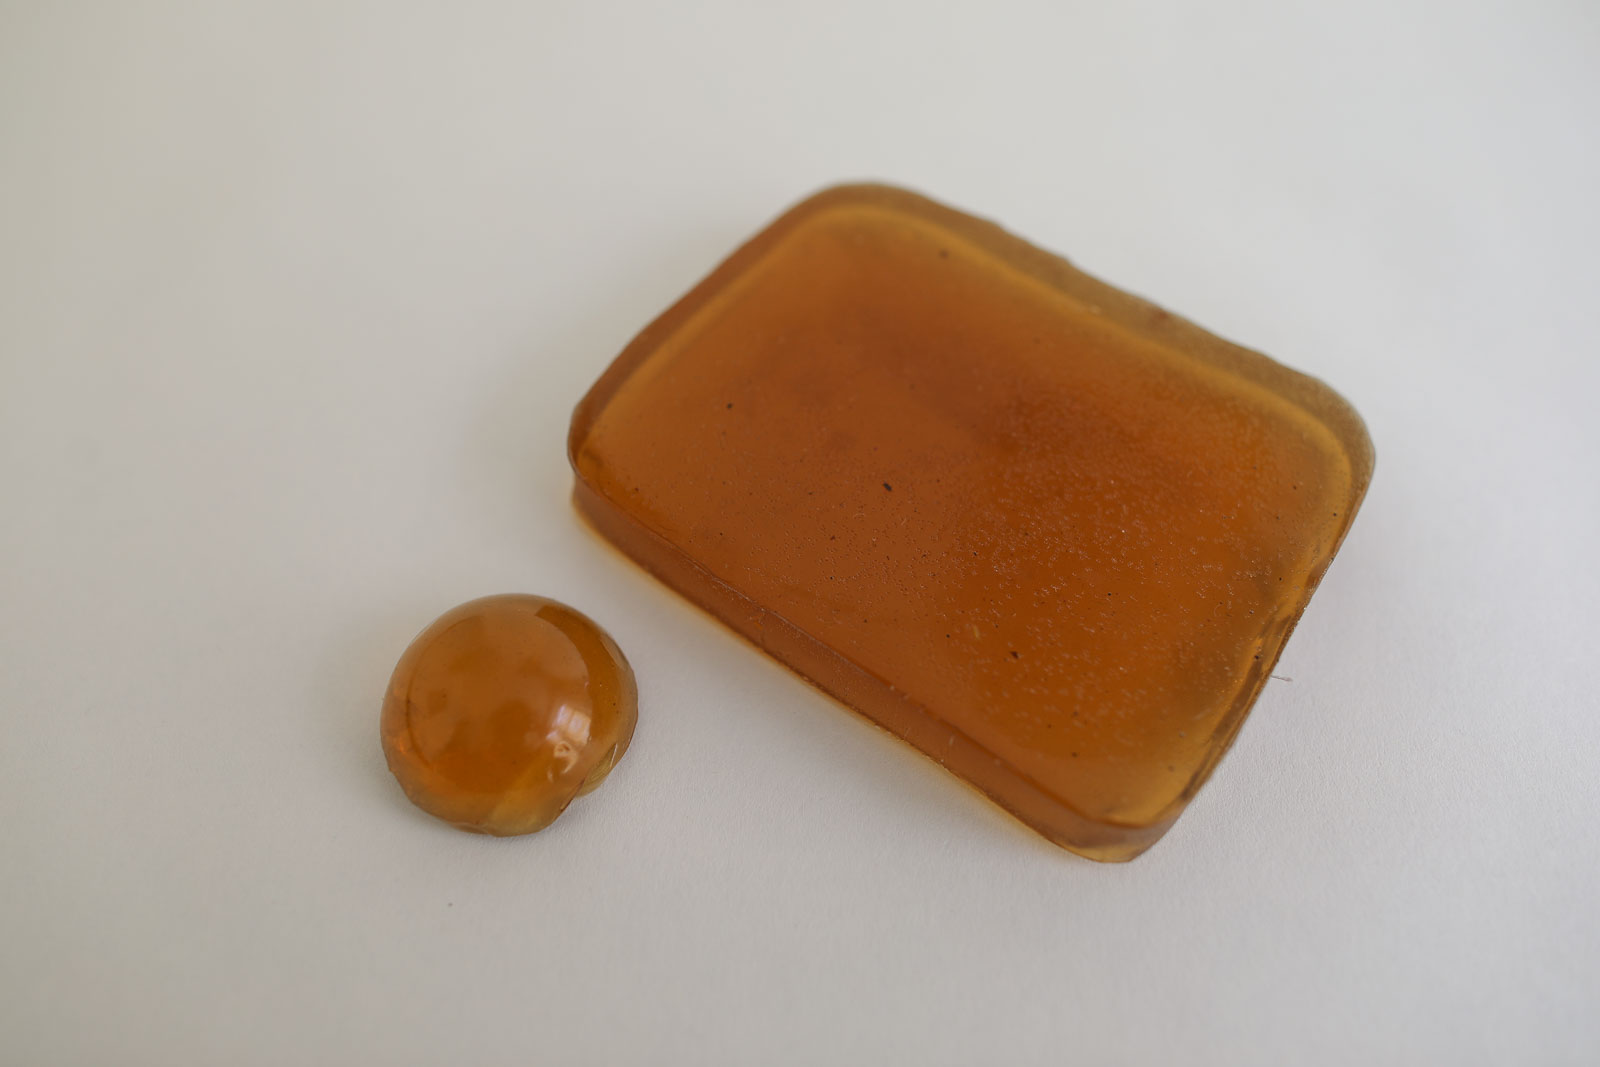 Bioresin slab and half dome, Loes Bogers, 2020