
1. State of the art, project management and documentation
This week I didn't really work on defining my final project idea. I've been sick for a few days, so just tried to keep up by doing the assignment for the week and building the documentation structure...
I'm a somewhat familiar with some of the tools used like a bit of github, markdown, terminal, and other tools for version control like Mercurial. So that helped but haven't used them all together in this way. So I had some fun customizing and browsing around.
Research
This week's research mainly consisted of learning these tools using the tutorials provided and some google. It was nice, I'm liking this way of documenting! I've decided on a way to organize my files and am looking forward to building this documentation in the next few months. Documenting is something I like doing, because it helps me keep the new skills and insights I've gained fresh and actually usable. As in: being able to redo things I did in the past. That said, I can get a bit wordy doing it, trying to get all the details in, but it's coming from a good place ;)
"Consider the possibility of an honest mess" - Co-Star astrology app
Useful links
- Fiore's tutorial
- This tutorial on the class page (especially how to edit the mkdoc :)
- Getting started with mkdoc.yml file
Setting up the SSH key
Tried to rush it and left the default email in by accident. Whoops! Deleted the key and generated a new one with the terminal commands provided here and popped it into the settings in Gitlab [Generating an SSH key] (https://gitlab.fabcloud.org/help/ssh/README#generating-a-new-ssh-key-pair)*
Also Fiore's tutorial has been very helpful here:
* I notice I'm becoming one of those people who writes documentation but doesn't explain the steps that already feel "normal" to me. Hmmm. I'll have a think to think what I think about that.
Customizing text, fonts, colors in the mkdoc
I customized some basic stuff to change the look of the page. I love the font Karla, we use it for everything where I work, so I'm using it here too. I think you can basically look up any Google Font and use it. I liked the idea of having a special font for code, so I specified one for that as well. Find a Google Font here
Teal is my favourite color so, I used that for now, I found the name of the color codes here: Squidfunk's tutorial
* I have to say again: I'm really liking markdown and Gitlab
Ah yes! I will make a favicon but not right now, so just put the line there and will uncomment it once I've created and uploaded one.
# This is some of the code I changed in the mkdoc :)
site_name: Loes Bogers
site_description: Loes' Fabricademy documentation
site_url: https://class.textile-academy.org/2020/loes.bogers/
repo_url: https://gitlab.fabcloud.org/academany/fabricademy/2020/students/loes.bogers
site_author: Loes Bogers
docs_dir: docs
site_dir: _site
copyright: Copyright 2019 Loes Bogers - Creactive Commons Attribution Non-commercial
theme:
  #uncomment line below when you made a favicon lollll
  # favicon: 'assets/images/favicon.ico'
  name: material
  font:
    text: 'karla'
    code: 'ubuntu mono'

  # try other colors https://squidfunk.github.io/mkdocs-material/getting-started/#primary-colors
  palette:
    primary: "cyan"
    accent: "purple"
And this is the result! Kaleidoscopic, isn't it...
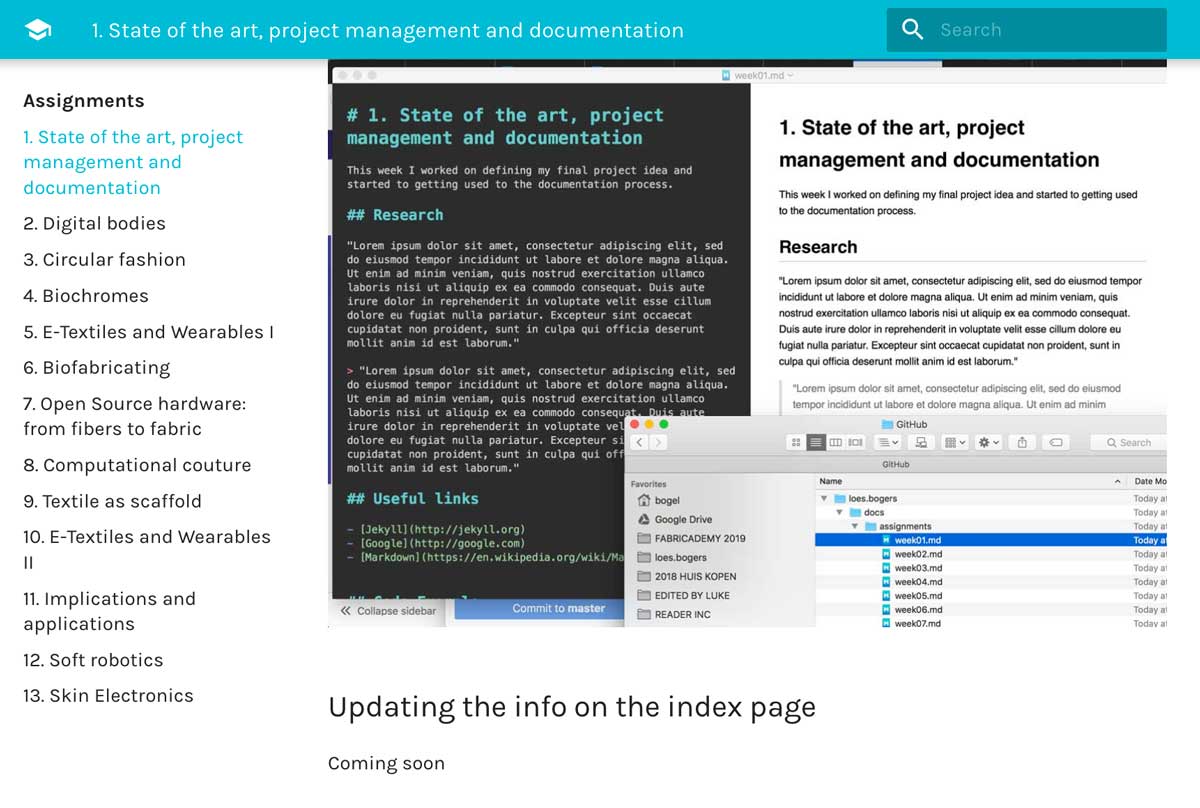 screenshot of the page you are looking at
Working offline
Since I'm working on a book project where I'll be using some of these tools as well, I also tried cloning my repository into the GitHub Desktop app using the URL provided in the back-end of the project using the SSH dropdown.
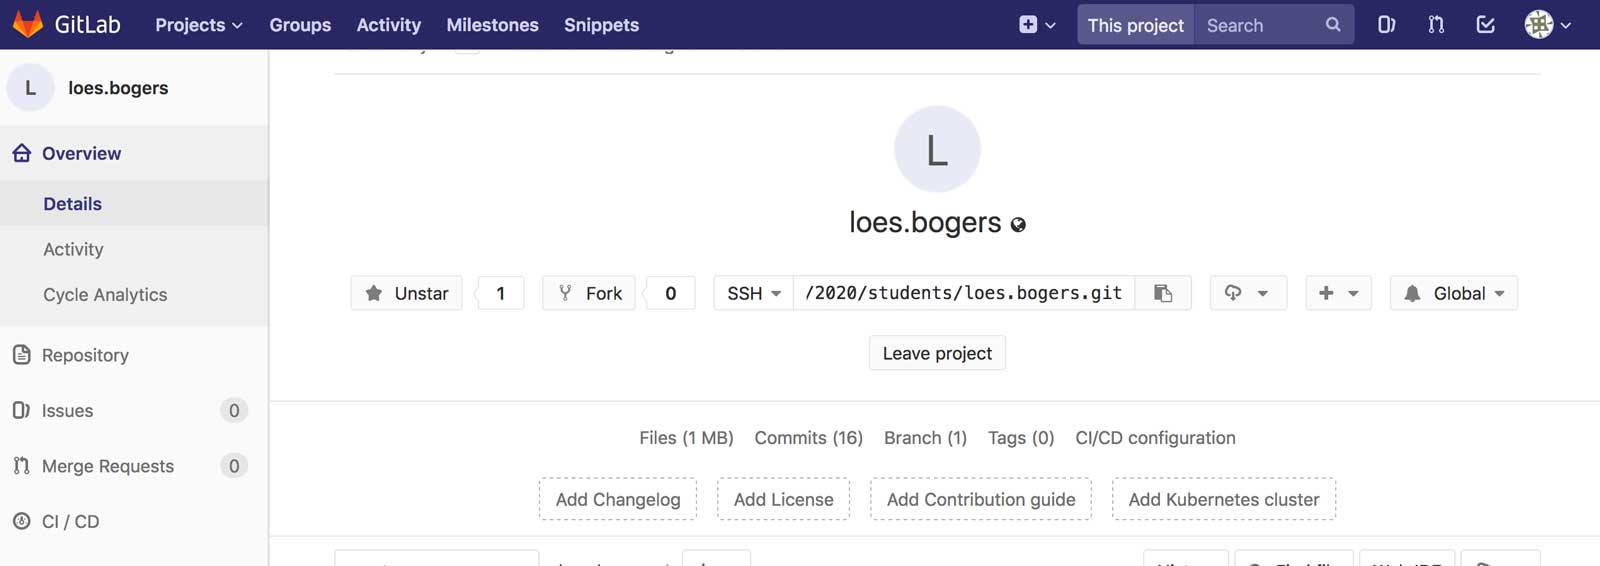 screenshot of dashboard
It's pretty straightforward, you go find the files locally and them edit them with an editor. And it tells you whether you have any commits that need pulling (when changes were made somewhere else) or pushing (when you make changes locally but haven't updated the master repository yet). Nice and easy! I also loved learning Mercurial on the command line though (forever grateful @Zaerc) I'm used to Brackets from back when I did Fabacademy. Oh sweet memories from 2015
But for another project I'll be using MacDown, which gives a nice simultaneous preview! Pretty nice too. Let's see which one I'll end up using.
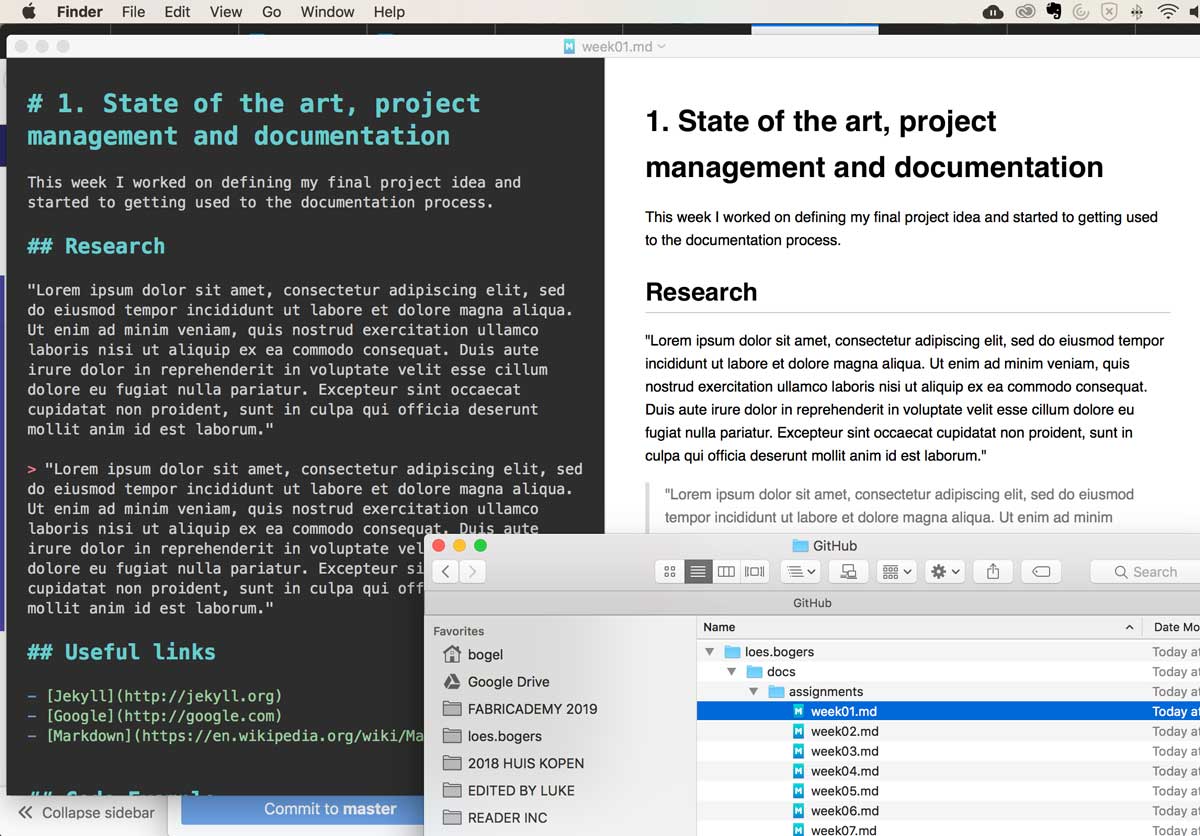 screenshot of Macdown editor
Adding images offline
I really prefer to work with my content offline actually, particularly images. I remember now that images need to be compressed to no more than 100kb, so I have to do that even for a screenshot. I use Photoshop for this and export for web. Which is fine, but it's quite some file hassle because I always forget and then I have to go back in and do it later. It's nicer to do that all locally and commit using the desktop app. At first my images didn't show up at all. I'm wondering if the makers of the templates put a limiter on large images? That would be so clever.
My first conflict
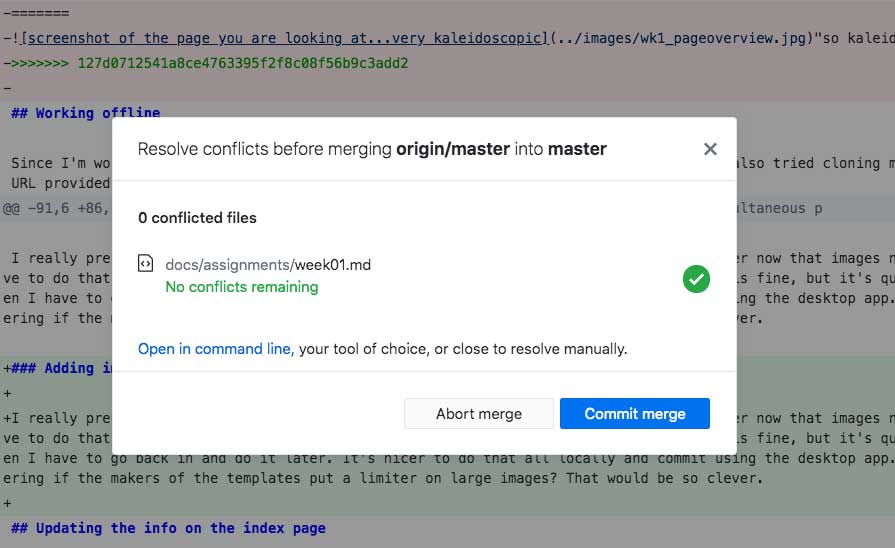
Yes! I had my first conflicting commit between the remote repository and my local one. How do I resolve this.... on the Github Desktop app you get an error when you want to commit a change that conflicts. Then you can click to open the file. It adds these conflict markers so you can see exactly where the problems are:
<<<<<<<, =======, >>>>>>>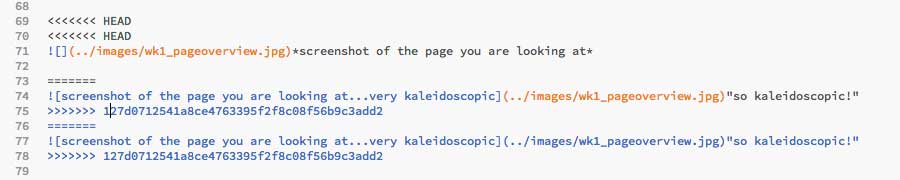 my conflicting commits!
Then you keep the code you want to keep, delete the conflicting code plus the marker and save the file. This support page was helpful. The desktop app recognizes when the conflict is solved and allows you to commit again. Yay!
 conflicting commits!