# Hello World
This is an example of participant's documentation for the Fabricademy program.
You can edit it on [Gitlab](http://gitlab.fabcloud.org). The software used turns simple text files written in [Markdown](https://en.wikipedia.org/wiki/Markdown) format, into the site you are navigating.
Each time you change a page using the Gitlab interface, the site is rebuilt and all the changes published
in few minutes.
If this is your site, go on and edit this page clicking the Gitlab link on the upper right, changing the text below and deleting this.
No worries, you can't break anything, all the changes you make are saved under [Version Control](https://en.wikipedia.org/wiki/Version_control) using [GIT](https://git-scm.com/book/en/v2/Getting-Started-About-Version-Control). This means that you have all the different versions of your page saved and available all the time in the Gitlab interface.
This is an example of how you can structure your documentation, including ways of adding images, videos, tables e.t.c. Once you start editing make sure that you delete the examples and you make this page yours.
##Assignments
_you can showcase the progress on your assignments on this page with a grid_
_below an example from the documentation of [Loes Bogers](https://class.textile-academy.org/2020/loes.bogers/) TextileLab Amsterdam 2019-20_
||||
|---|---|---|
|[{ width=175 } Project management](./assignments/week01)|[{ width=175 } Digital bodies](./assignments/week02)|[{ width=175 } Circular fashion](./assignments/week03)|
|[{ width=175 } Biochromes](./assignments/week04)|[{ width=175 } . . . E-textiles](./assignments/week05)|[{ width=175 } Biofabricating ](./assignments/week06)|
|[{ width=175 } Open-source hardware ](./assignments/week07)|[{ width=175 } Computational couture](./assignments/week08)|[{ width=175 } Textile scaffold](./assignments/week09)|
|[{ width=175 } Wearables ](./assignments/week10)|[{ width=175 } SoftRobotics](./assignments/week12)|[{ width=175 } Skin electronics](./assignments/week13)|
And in [week 11](./assignments/week11) I proposed my final project.
## Adding images
_there are many way to add an image, most important is that the images are optimised - check out the tip for more info_

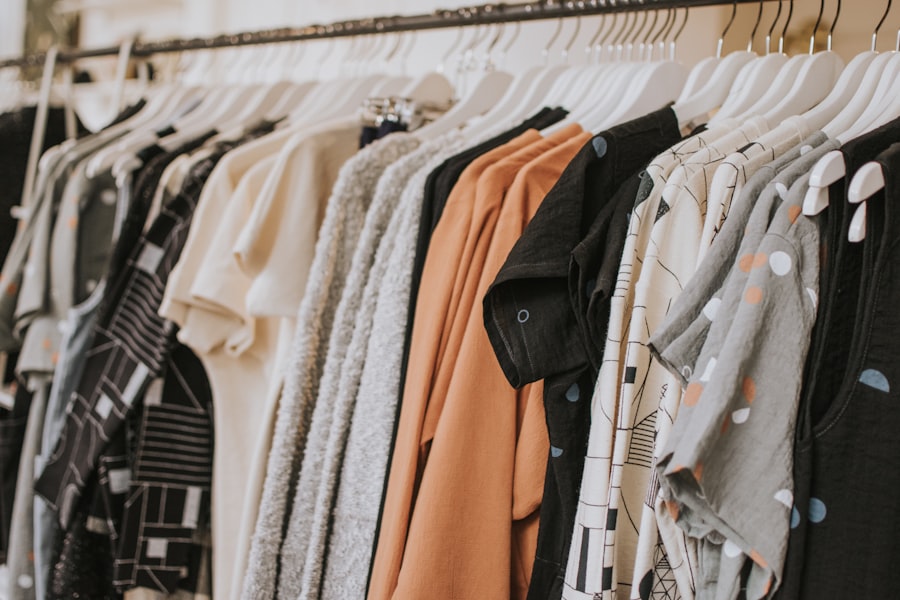
Photo by <a href="https://unsplash.com/photos/nbW-kaz2BlE">Michael Dziedzic</a> on <a href="https://unsplash.com/?utm_source=unsplash&utm_medium=referral&utm_content=creditCopyText">Unsplash</a>
??? tip
remember to resize and optimize all your images. You will run out of space and the more data, the more servers, the more cooling systems and energy wasted :) make a choice at every image :) This image is optimised in size with resolution 72 and passed through tinypng for final optimisation. Remove tips when you don't need them anymore!
## About me
{ width=200 align=right }
_you can introduce yourself in many ways! audio, images, video.._
Hi! I am Emma Brewer. I am an art director & graphic designer based in New York City working on branding, visual identities, editorial design and web design.
_the image above has a prefixed width and is aligned on the right side_
_below an example from the documentation of both [Sara Alvarez](https://class.textile-academy.org/2021/sara.alvarez/) TextileLab Amsterdam 2020-21 and [Diane Wakim](https://class.textile-academy.org/2021/diane.wakim/) Le TextileLab Lyon_
Visit my website to see other works or listen to my audio introduction here:
<audio id="1" controls preload="auto">
<source src="files/audio/intro_about_me.m4a"/>
</audio>
## My background
I was born in a nice city called..
## Previous work
I'm a paragraph. Edit the page on Gitlab to add your own text and edit me. I’m a great place for you to tell a story and let your users know a little more about you.
### Project A
_below how to add an image from an external site:_

_below an image from the assets/images folder. Never use absolute paths (starting with /) when linking local images, always relative._
{ width=300 align=left }
{ width=300 align=right }
<!-- This below clears both sides under "aligned" images - see two images above.
Can also be used just as "clear: right;" rather than "clear: both;", if you are using an image on the right, for example.
-->
<p style="clear: both;"></p>
<br/>