# 8. Computer controlled machining
This week I worked on defining my final project idea and started to getting used to the documentation process.
group assignment
do your lab's safety training
test runout, alignment, fixturing, speeds, feeds, materials, and toolpaths for your machine
**Individual assignment**
Make (design+mill+assemble) something big (~meter-scale)
Extra credit: don't use fasteners or glue
Extra credit: include curved surfaces
## Table design
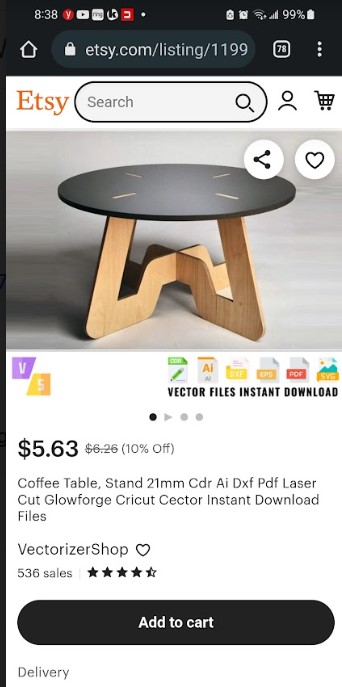
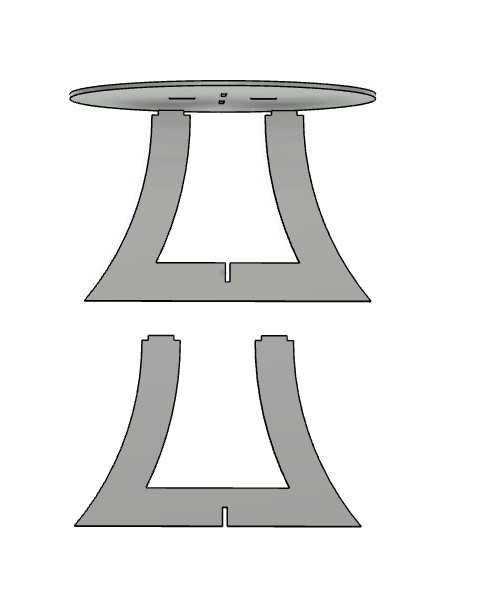
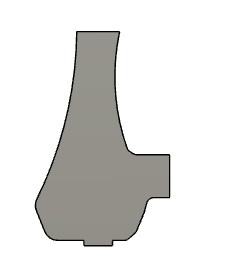
I used the following picture as a basic inspiration for my table
Hight: I started by looking up hight for table and is seems that card and dinning tables are typically 28-32 inches high. Work
table are 28-30 inches and so I decided to go with 30 inches
able top size: I decided to go with the biggest I can make which is going to be 48 inches
Floor base: I found on line that the “golden rule” is to have the width of the base at the floor be at least 0.6x the overall
height of the table. As this is the minimum I wanted to have a very stable table and decided to use 0.75 as the ratio.
Table leg width: I will use 6 inches
I plan to make this with a glue up of 3/4 inch hardwood planks (see next section)
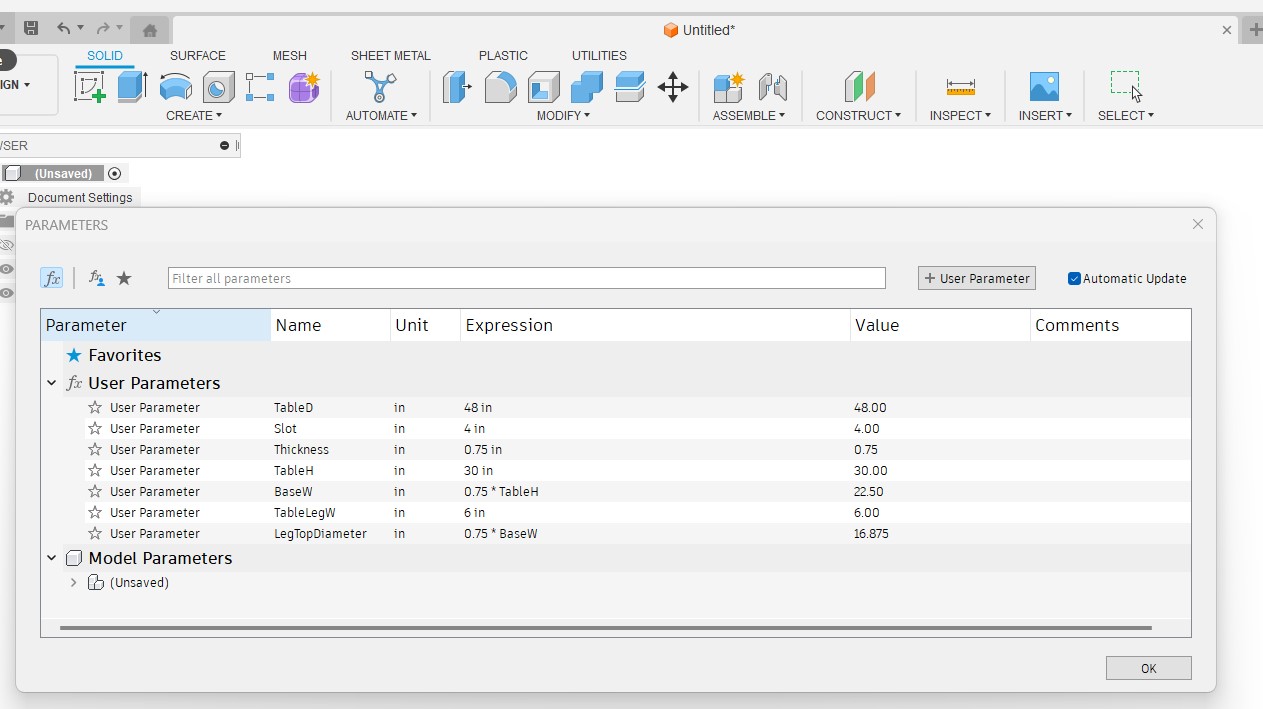
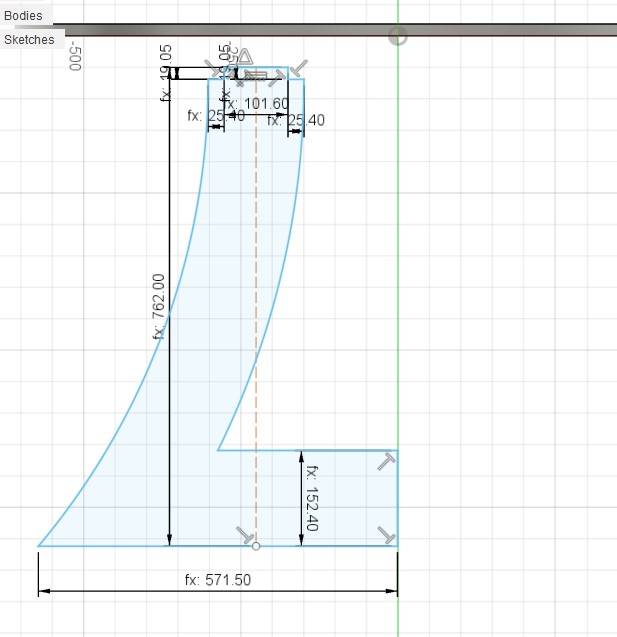
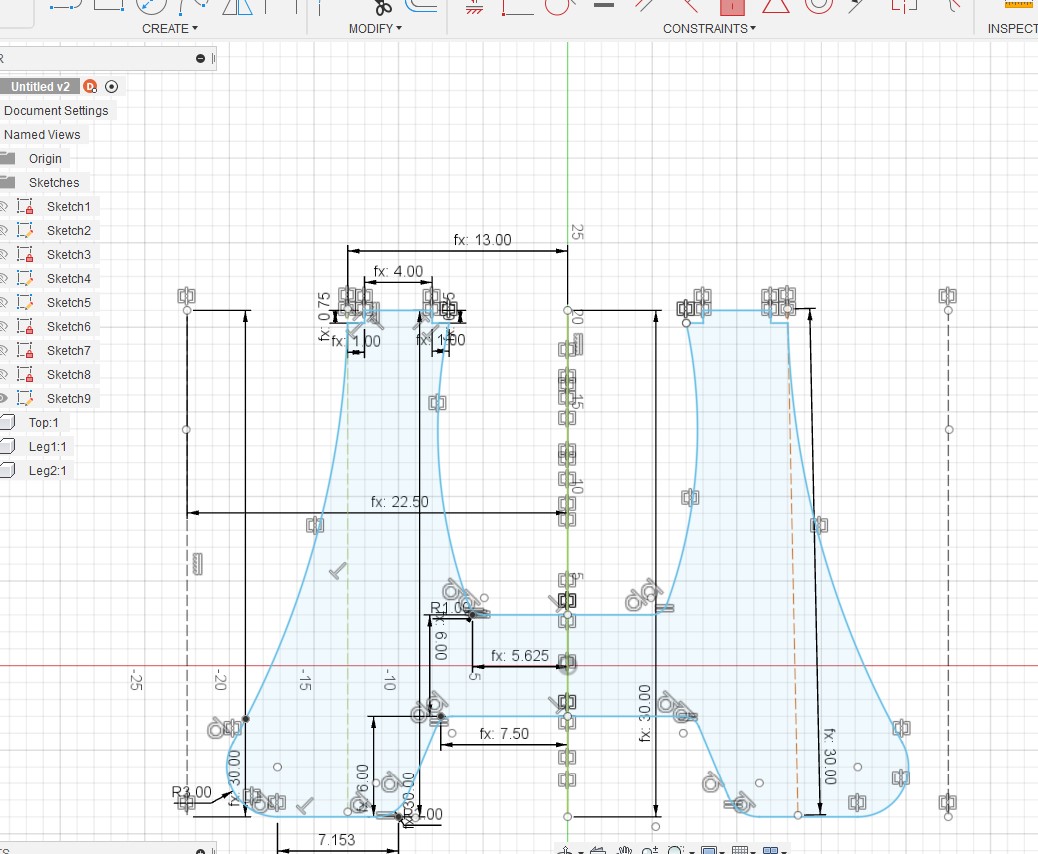
First up a set up a few parameters I plan to use based on the design approach I listed above
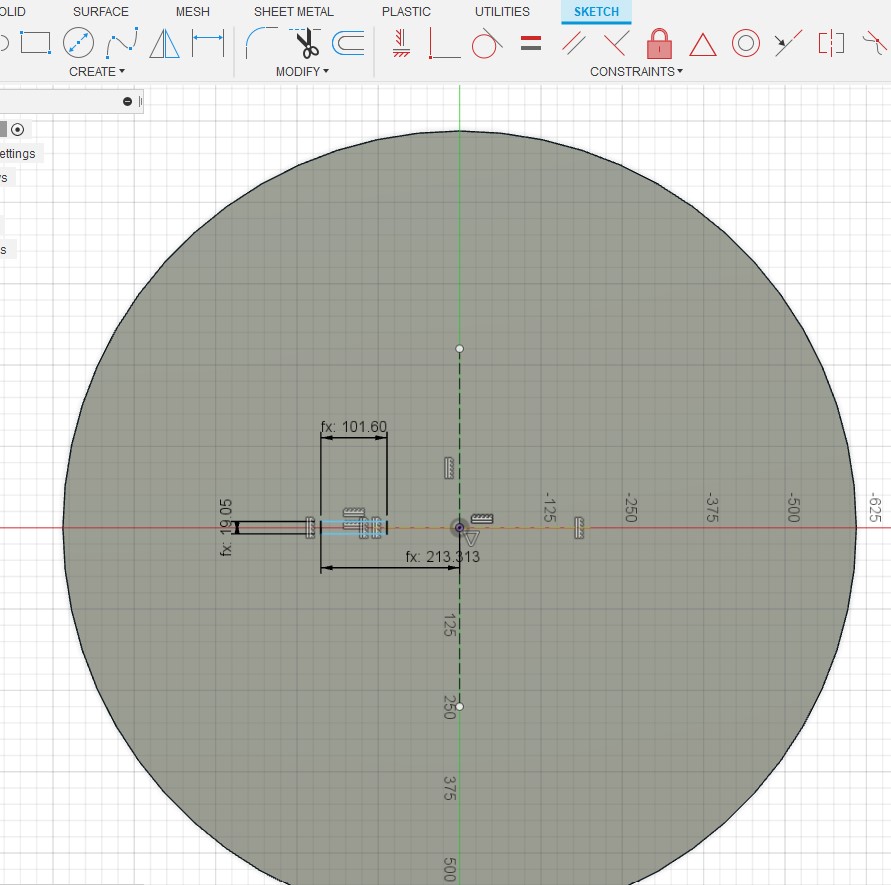
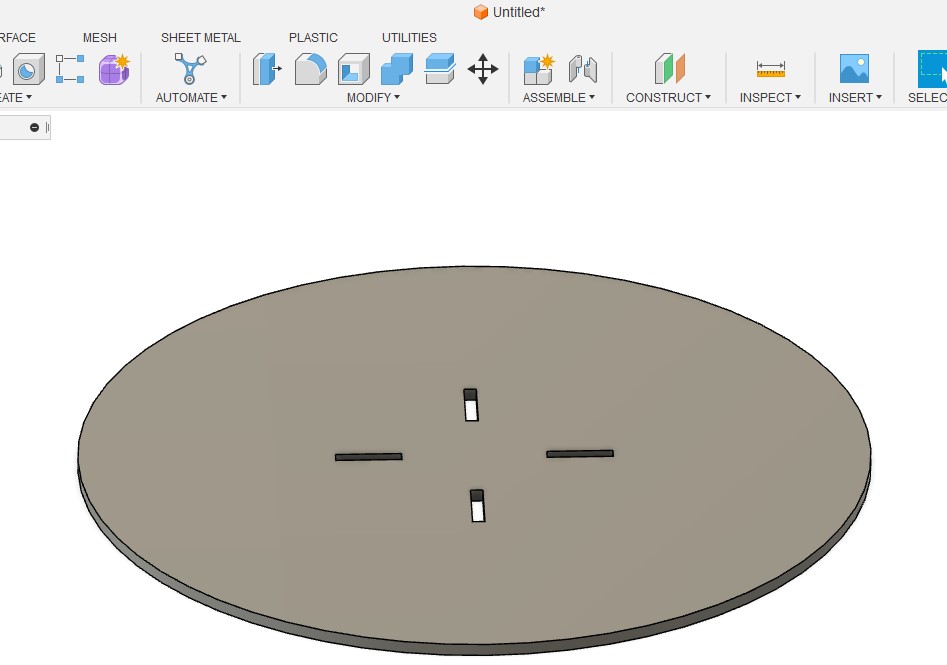
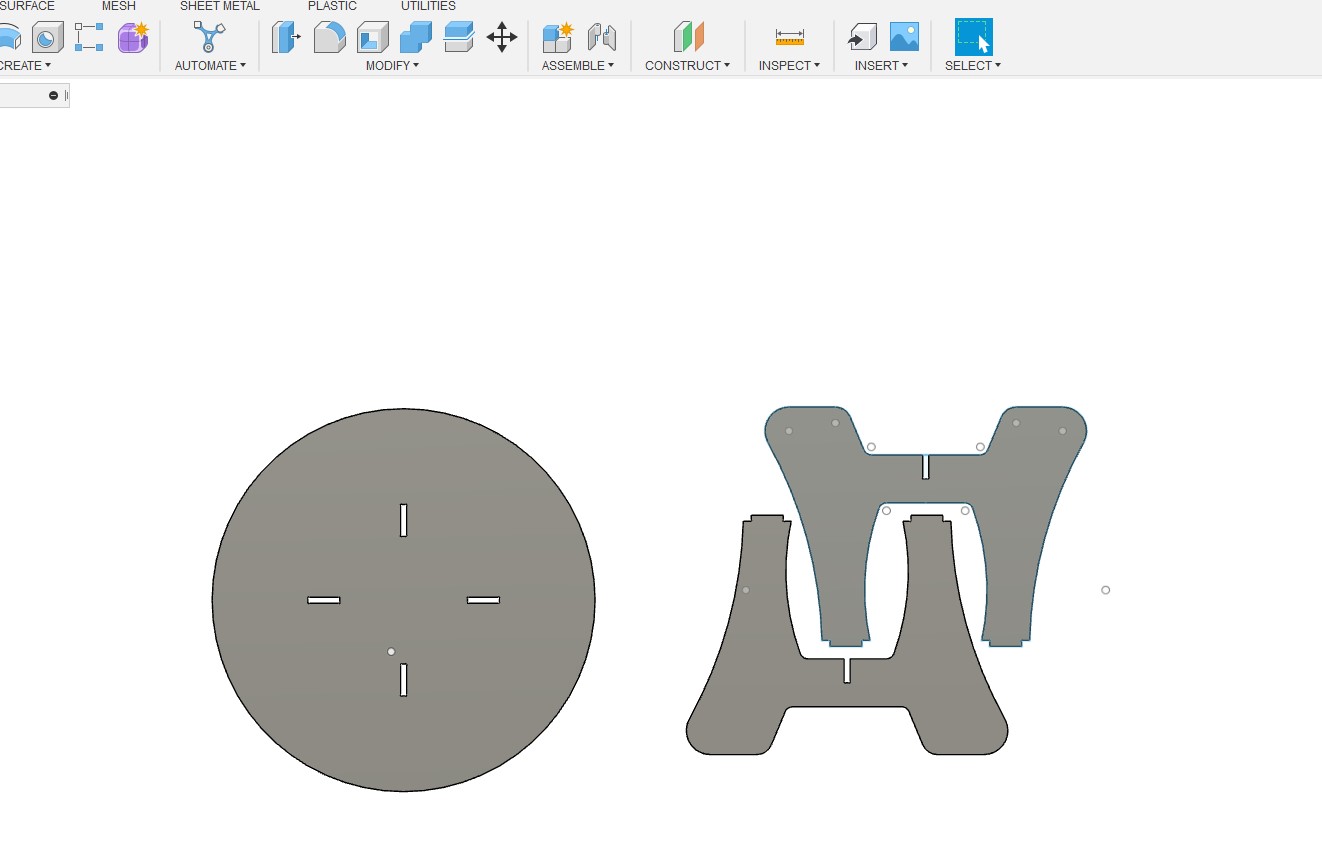
Next I started with the table top and slots
Circular patter repeat make this a quick one
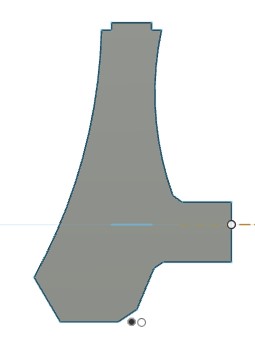
Next I started on the legs and was wanted to ensure the end of the leg can slide into the the
slot in the table top
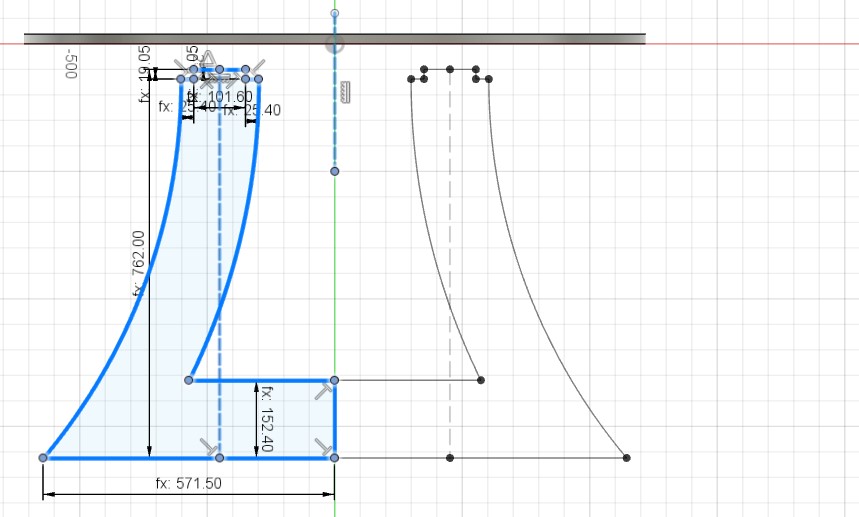
I set up the basic shape and mirrored in the sketch to ensure the legs were symmetrical - this was my
first mistake as a later found out that mirroring in the sketch does not work as well a mirroring
the extruded part when changing the user defined parameters
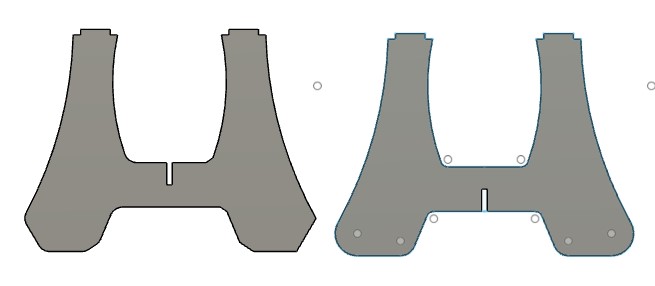
I got the legs ready with the cross fit joint
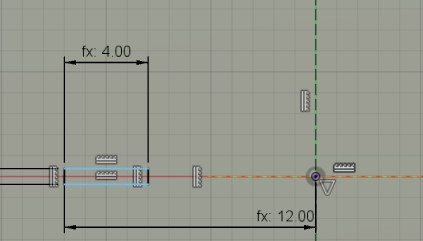
Next I decided to check fit in fusion and good thing I did as I has the slots misaligned

This called for a new parameter and I used sketch dimensions restriction to ensure they will line up
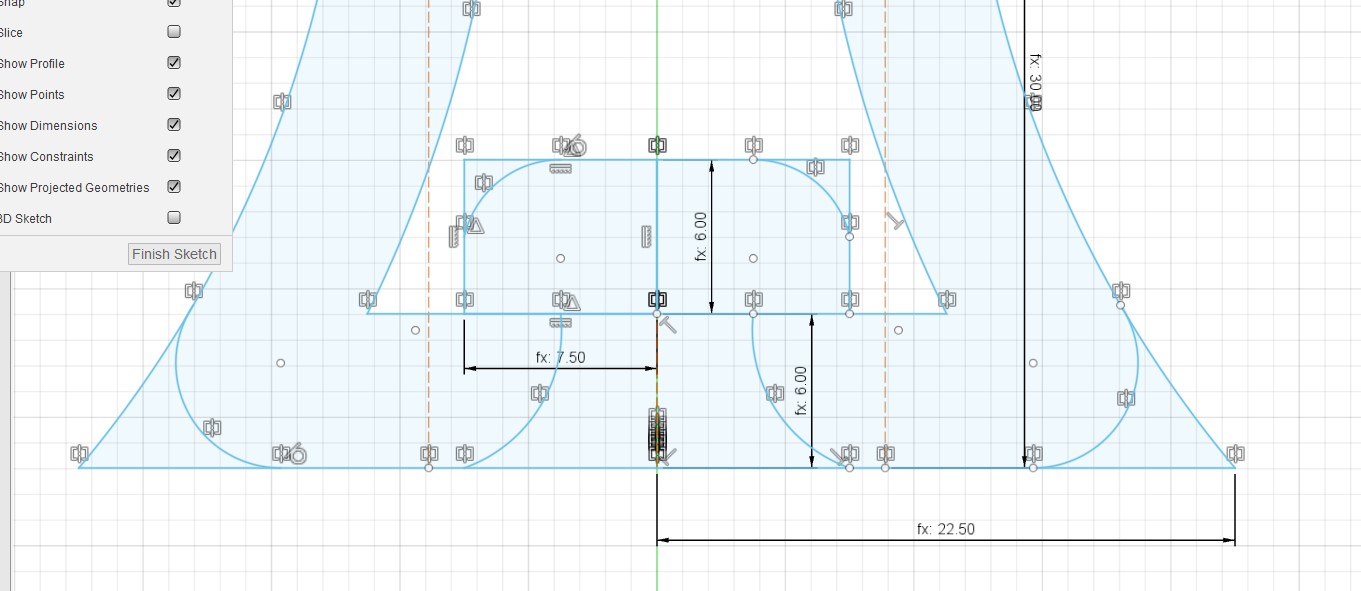
I used the same parameter in the top and leg to ensure alignment
and another check - we are good to go

Now that we get that working I decided I really did not like the look of the legs and so it was time for
design #2
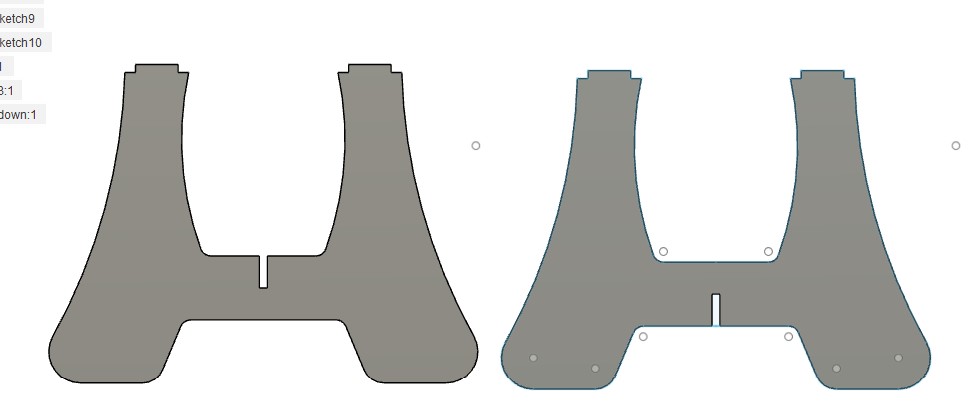
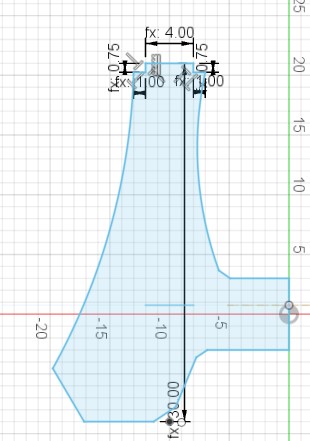
I repeated the steps above and had the next set of legs ready
When I wanted to resize the legs the sketch profile kept coming apart and so after some research I decided to
redo this once again the this time to use the 3d mirroring instead of the sketch.
So here we go again
I extruded on this part
then mirrored it in 3D

duplicated and added joint
I downloaded a [Dogbone add-in](https://apps.autodesk.com/FUSION/en/Detail/Index?id=3534533763590670806&appLang=en&os=Win64) for Fusion and got the design ready to cut
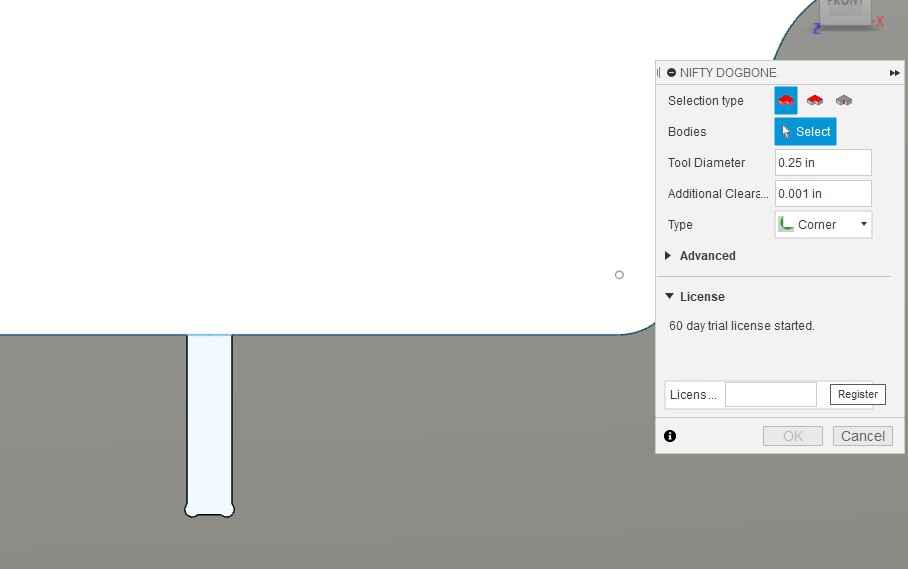
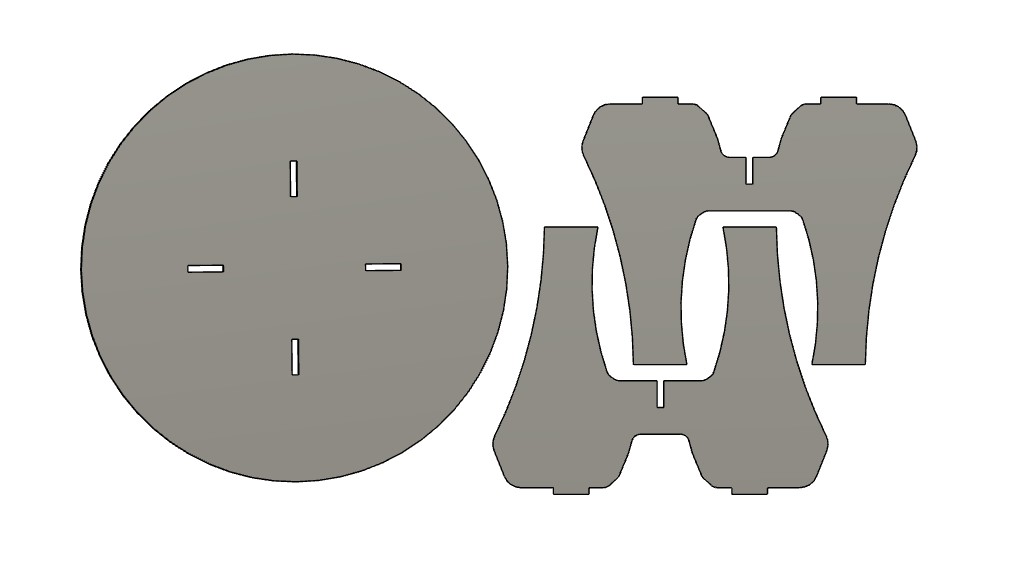
and now we are ready to mock up in the laser cutter
## Laser cut mock up
Next I took the basic table design and laser cut a small version to get a feel for fit and look


The table looked nice and legs seem to align well to the table top slots
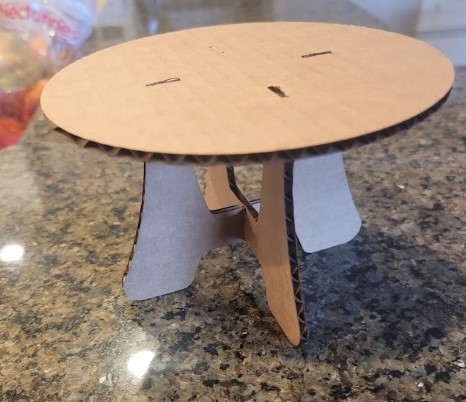
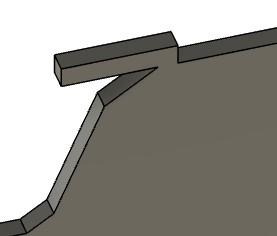
When I showed it to my kids they started playing with it and turn the legs upside down. This looked much
better!!!
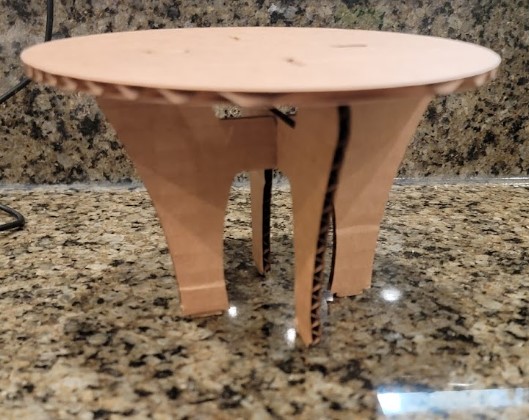
Now I needed to get back to fusion and redesign the legs.
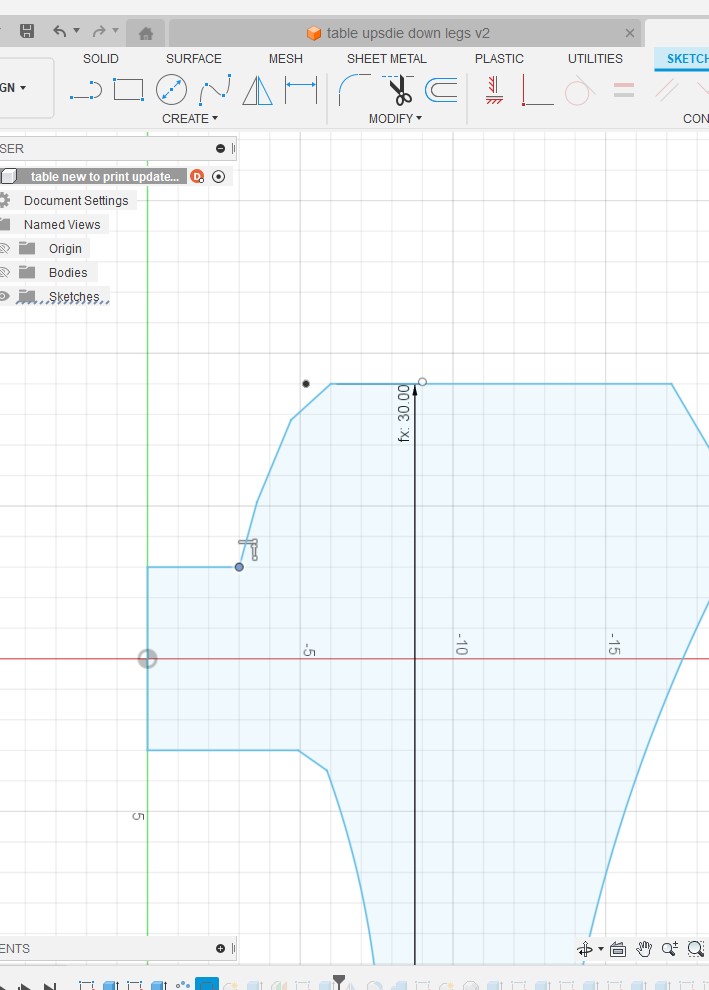
## Leg design #2
To ensure i keep the slot in place I created a plan on the bottom and projected the
slot on it
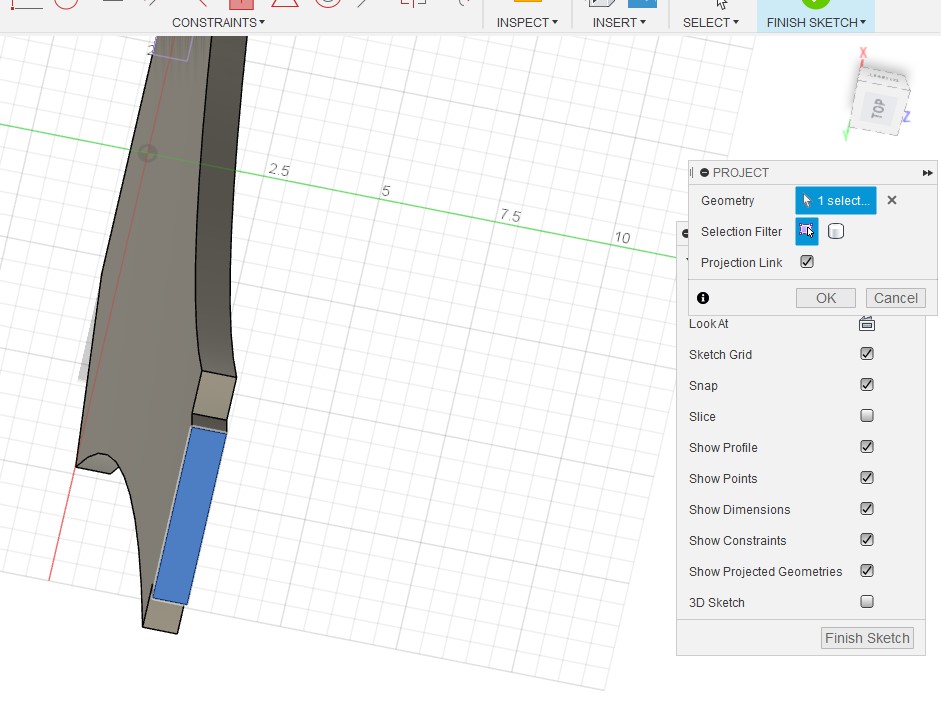
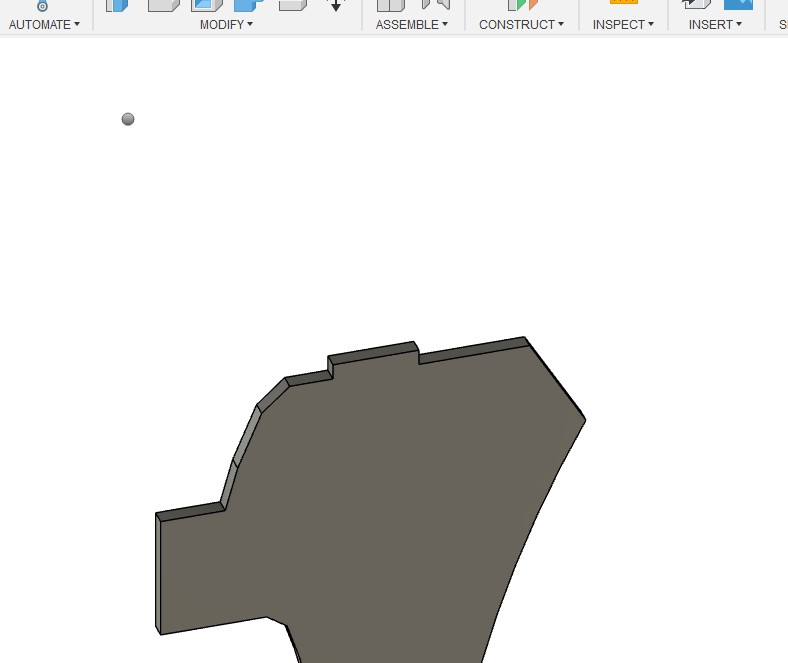
Then I saw that the leg was too narrow in that part
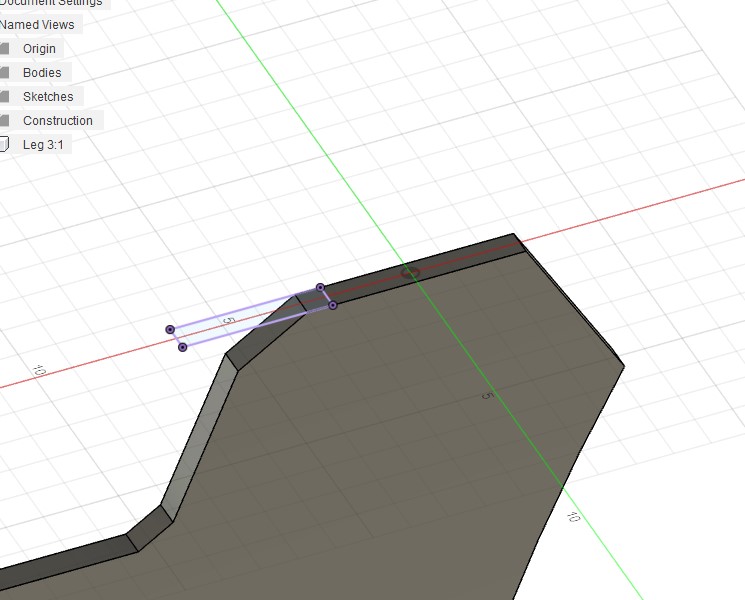
I extruded it but need to get the base back in line
So a went back to the sketch and adjusted it
That looked good
Now I needed to erase the old slot
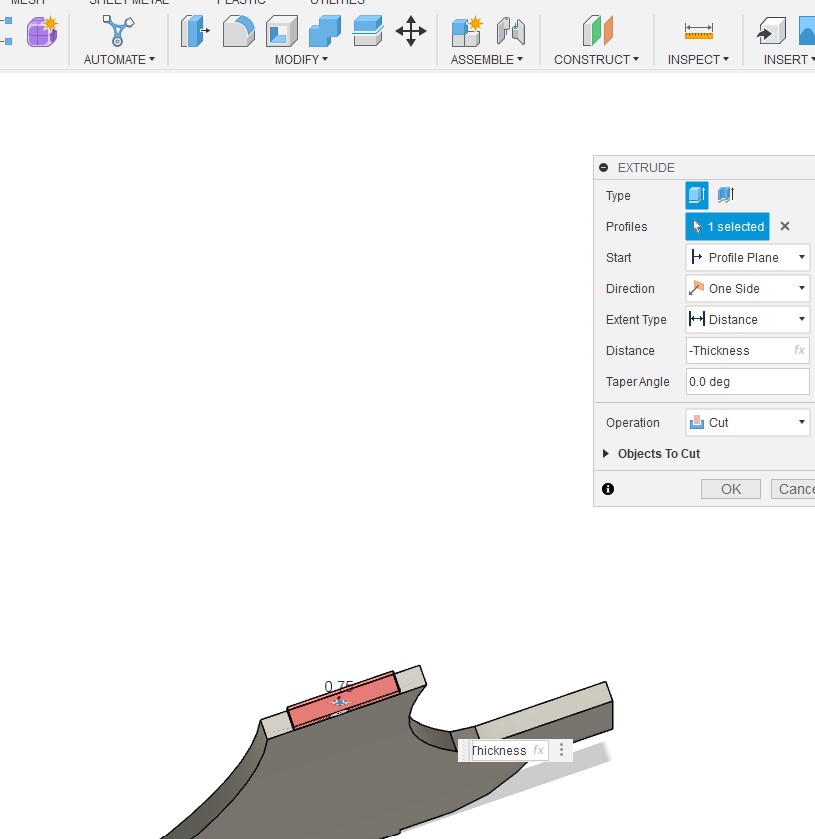
and this looks
And we are good to go
## Cardboard test #2
Drawing set to cut
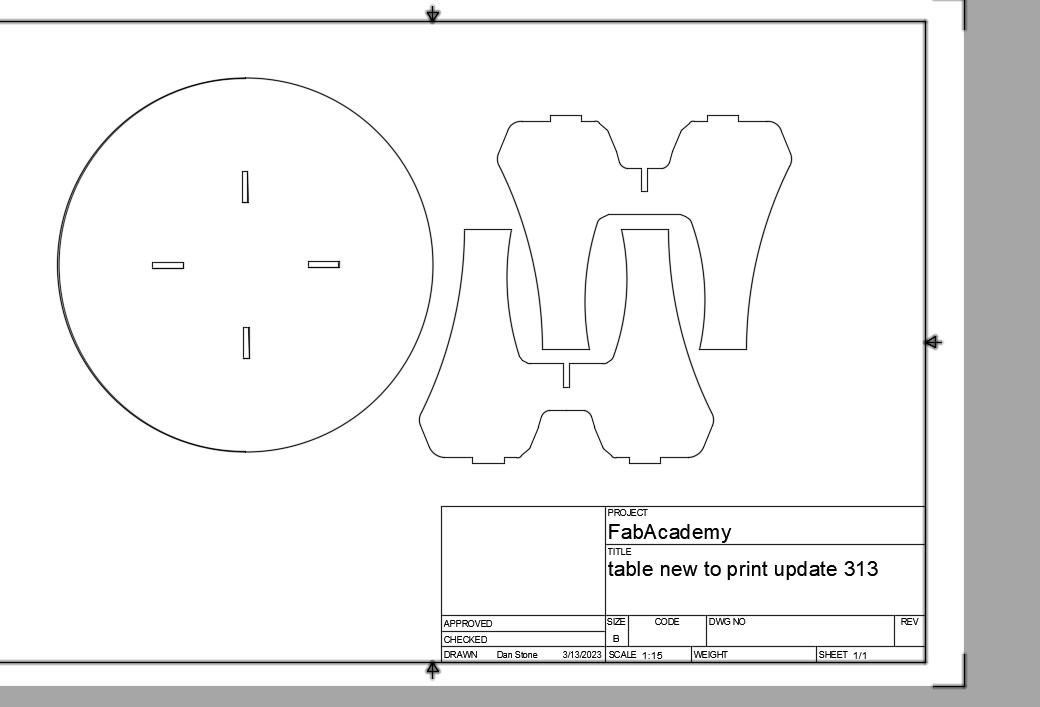
Quick cut on laser

And I think we are ready to cut ...now we just need the wood glue up

## Wood glue up
Chatting with Dr. Taylor about the table he had a great suggestion of using a glue up of hardwood to take the
table to the next level. This was a great opportunity to learn 2 new things:
1. How to glue up hardwood panels
2. How to use the [Festool DOMINO Joiner](https://www.festoolusa.com/products/domino-joining-system/domino-joining-machines/576423---df-500-q-set-us) our lab has.
{: style="height:300px;width:300px"}
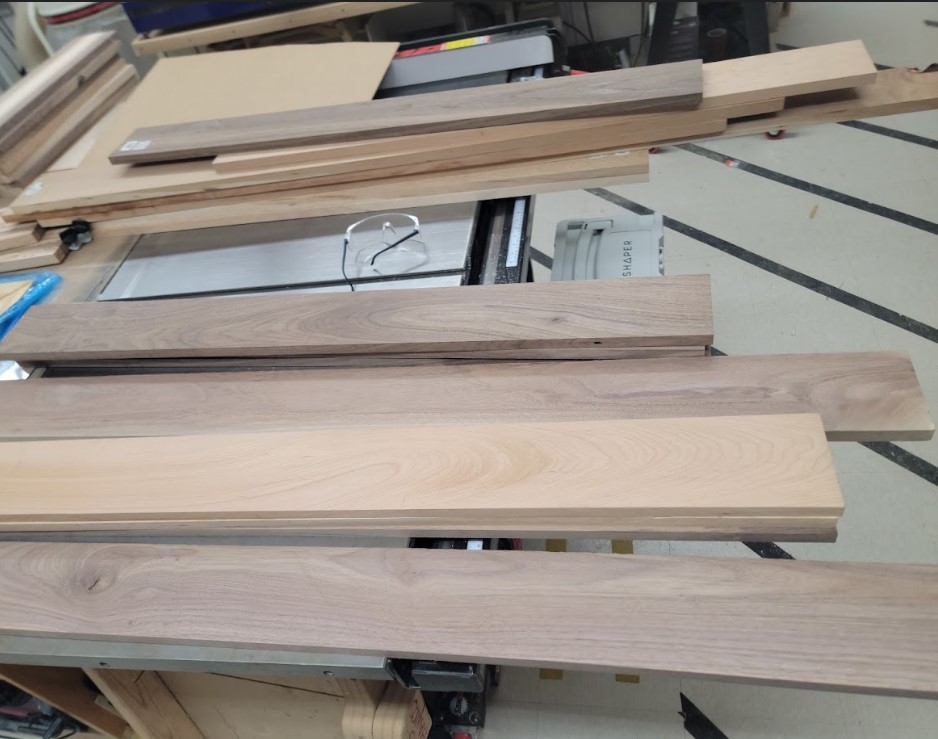
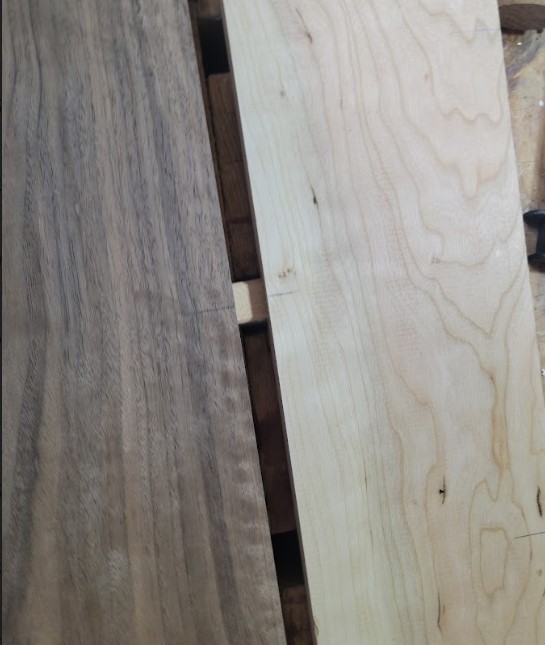
I headed out and got some nice wood planks
Next was the joiner to make sure the side were nice and flat

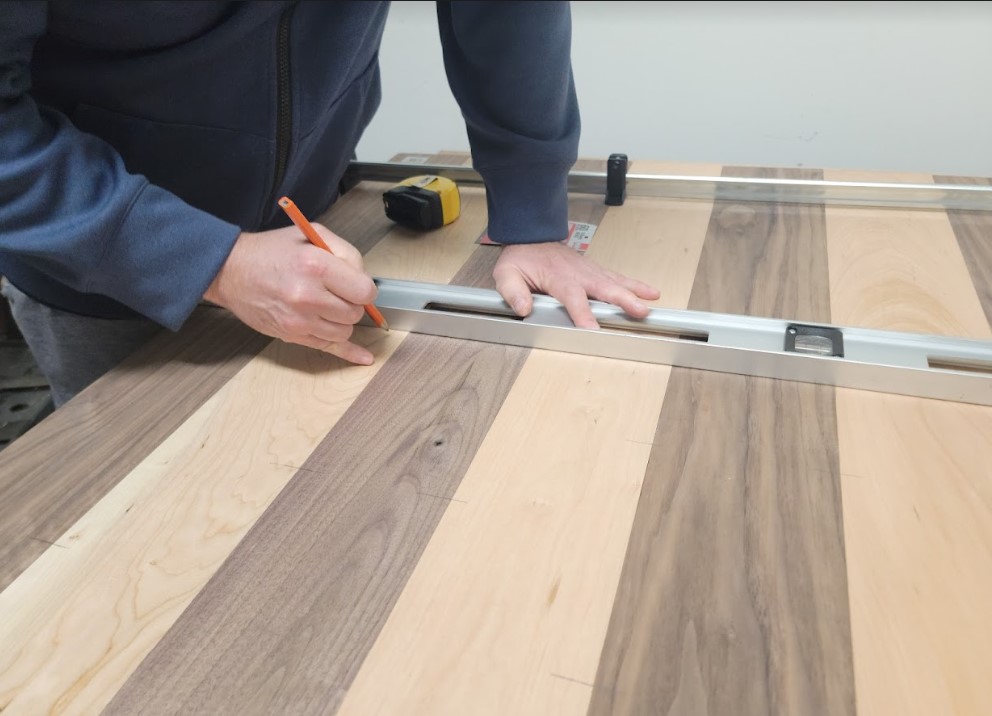
Next OI lined up all the planked to get the patters
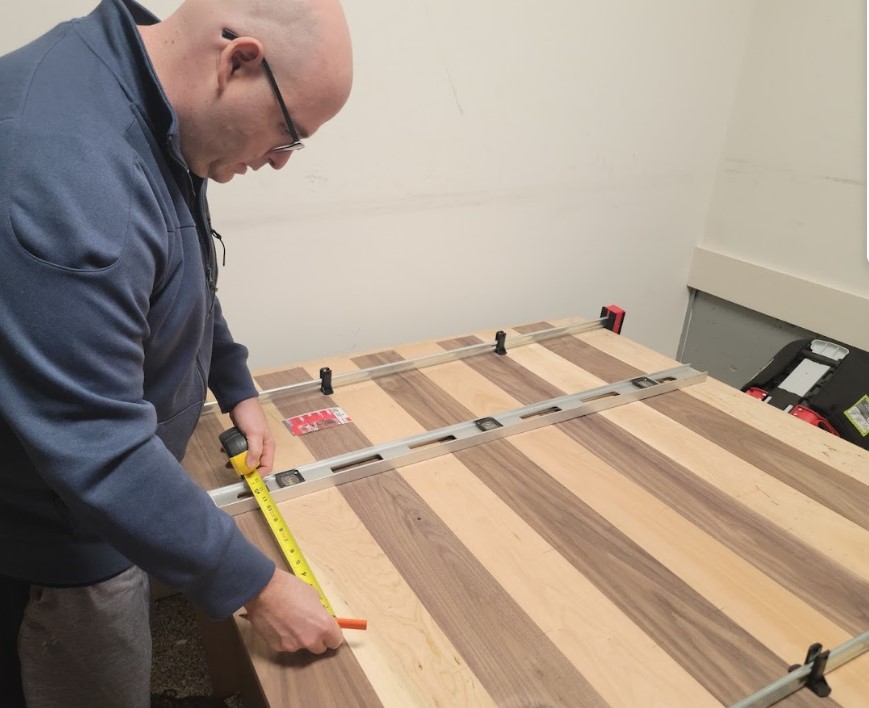
I marked the planked every 8 inches for each place I will put a domino/dowel
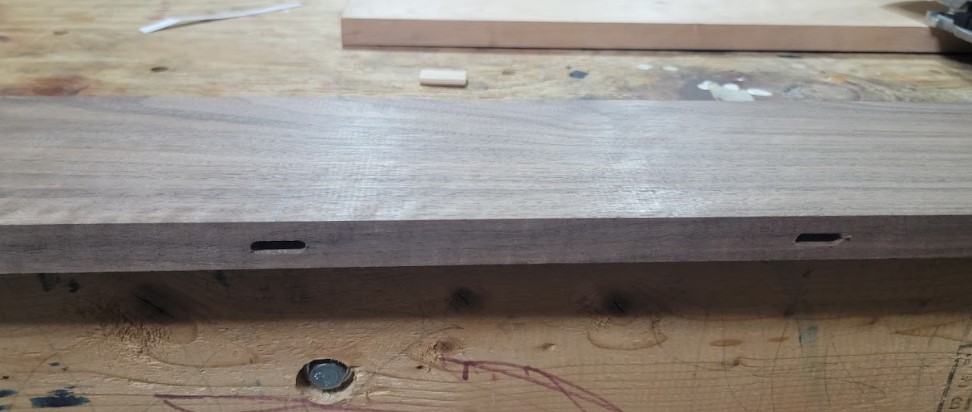
Next step was the drill holes at every marking for the dominos/dowels

Here you can see the holes
Now I set up each plank put glue and inserted dominos/dowels
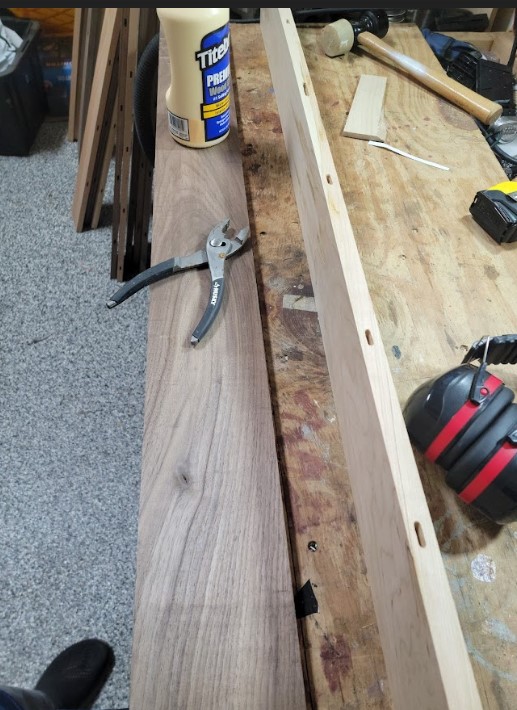
You can see how the line up
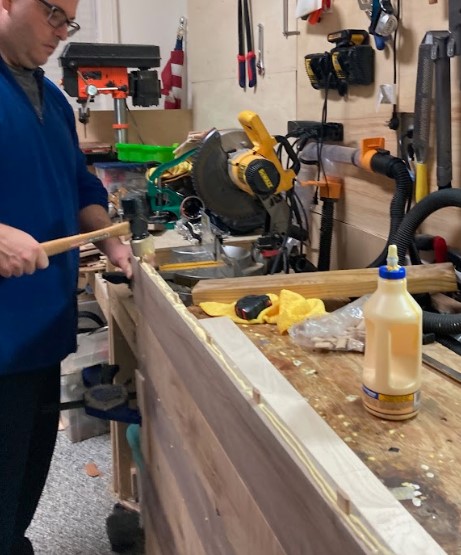
Now started to run through putting in wafter and then inserting next plank and stacking them together.
I found out that it is very important to have the dowels all the way in to ensure a smooth stacking and
so you can see I use a maleate to ensure all the dowel are in and then again to put in the next plank
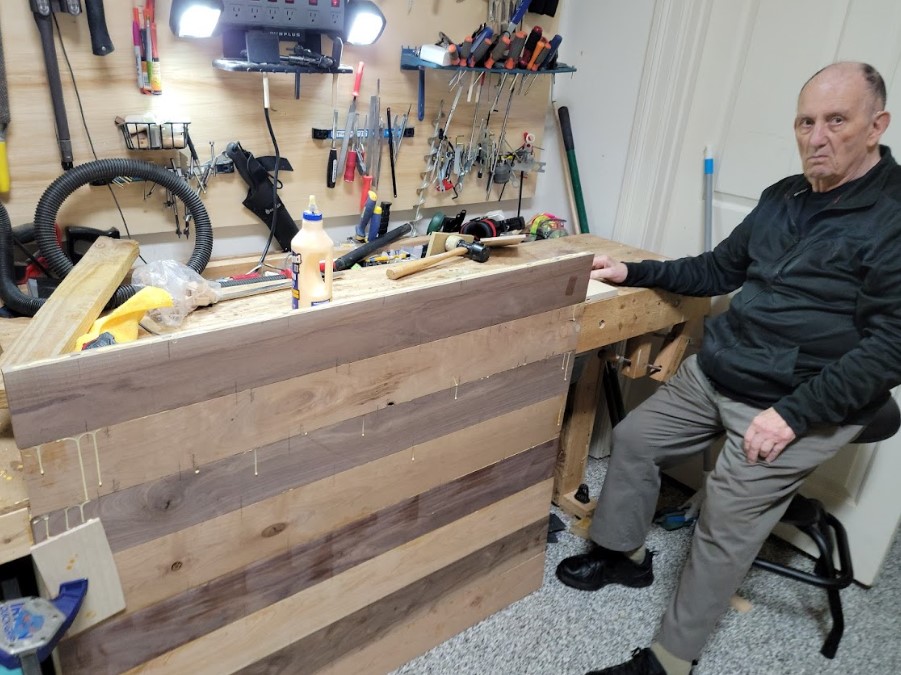
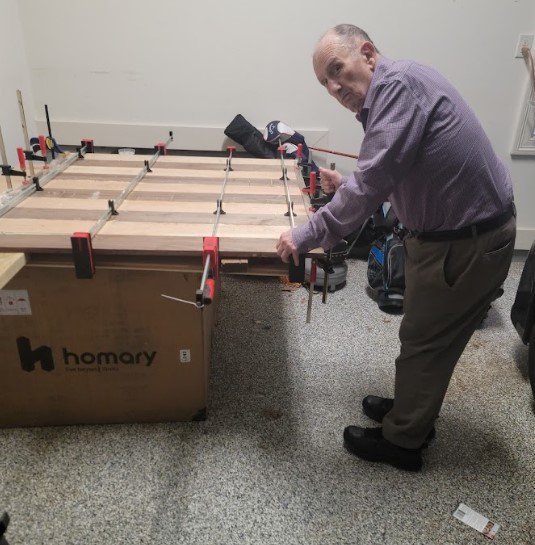
My dad who is 86 was visiting and come into the shop to supervise as I was working. He introduced me to
woodworking when I was a childe and while his arthritis does not allow him to do any woodworking we had
a good time working together.
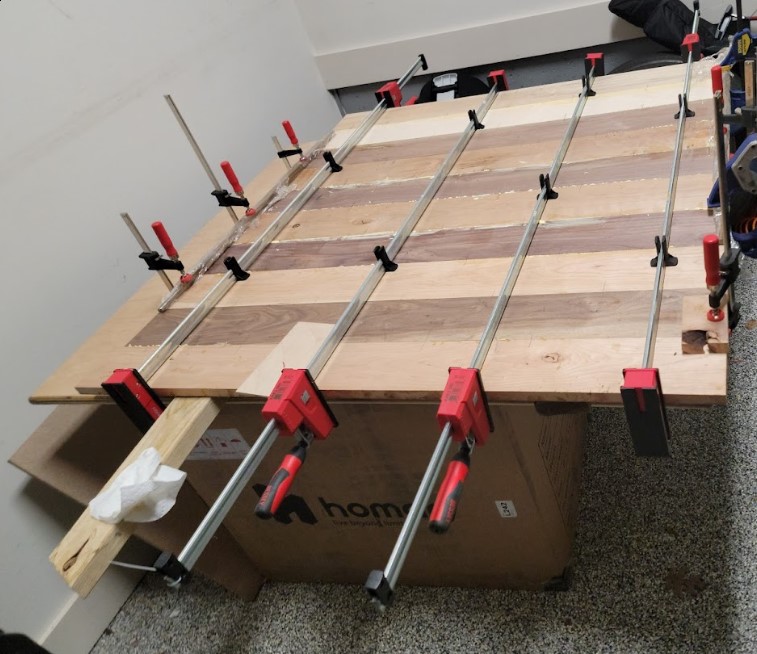
Next I moved to the glues panel to a flat surface and I use 4 long clamps to hold the planks together
in addition I use 2 metal bars and smaller clamps on each edge to keep the panel from bowing as much
as possible.
Another inspection approved
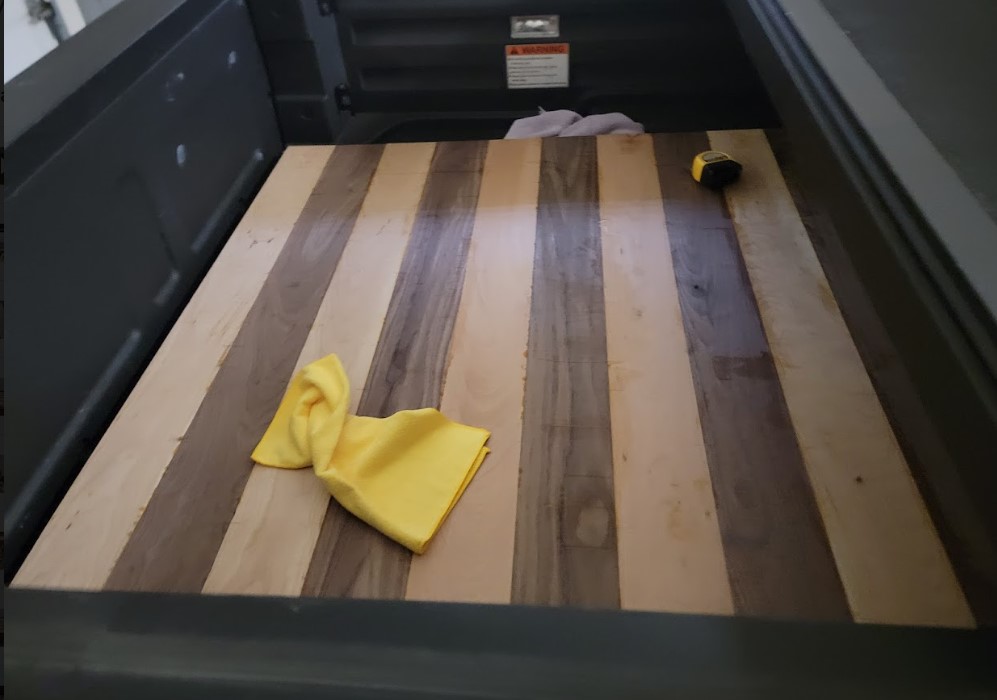
24 hours later the board was dry enough and loaded into my truck to free up the space to work on the next
panel for the legs
I repeated all the steps above and now panel #2 is drying
