# 4. Electronics production
## Instruction
**Group Assignment**
- characterize the design rules for your in-house PCB production process
- extra credit: send a PCB out to a board house
**Individual Assignment**
- [Here](https://fabacademy.org/2022/labs/kannai/students/yukiya-yamane/assignments/week05/)
## What I did in Week4
1. Set up milling environment → In this page
2. PCB Test production → In this page
3. Design and Produce in-circuit programmer →Individual Page
## Group Assignment
### The CNC machine we used
**Genmitsu PROVerXL 4030**

| Title | Spec |
| --------------------------- | ------------------- |
| Working area | 400 x 300 x 110mm |
| Control Board Compatibility | GRBL 1.1h |
| Spindle | 300W 6A, 12,000 RPM |
| Max speed | 2000mm/min |
| Accuracy | 0.1 mm |
| Overall Machine Size | 641 x 755.5 x 580mm |
| Machine Weight | 26kg |
| Collet (in package) | 1/8” Shank |
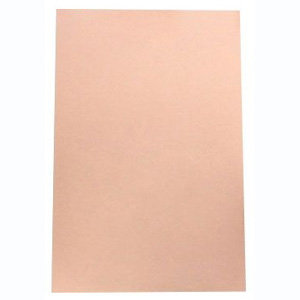
### About Material
- Cut board / Paper phenol
- [FR1](https://www.yodobashi.com/product/100000001004769460/)(Flame Retardant)
- FR grades are described by "FR-numbers". The numbers range from 1 to 5, with FR-5 being the grade with the highest flame resistance. The higher the number, the more flame-resistant it is.
- Size: 100 x150 x1.6mm
- Cu layer: 35um = 0.035mm
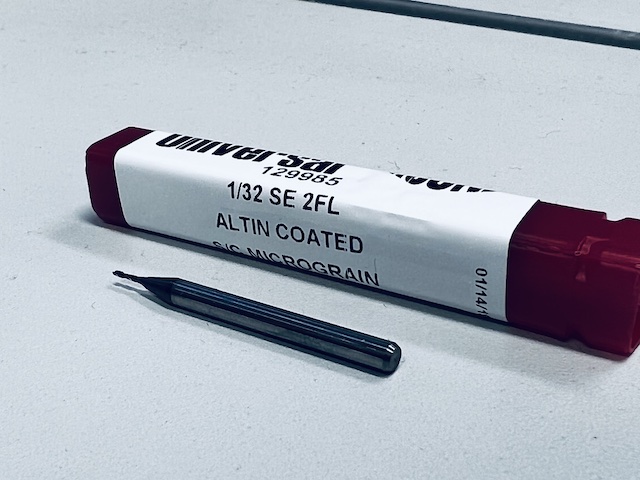
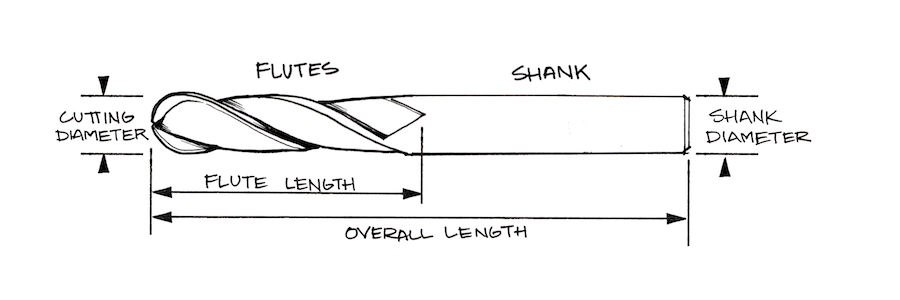
### About Endmill
- shank diameter :
- 1/8” = 3.17 mm
- for traces
- 1/64” endmill
- = 0.396748 mm
- SE : single end
- 2FL : two flute
- Altin coated : Calico Aluminum Titanium Nitride is a hard coating that solves many tribological problems with components that can be coated at temperatures of 450°C - 475°C
- (alternative) V-bit 0.2mm 30deg
- Because of the V-shape, it is a little difficult to control in some cases.
- Cheaper than 1/64 endmill
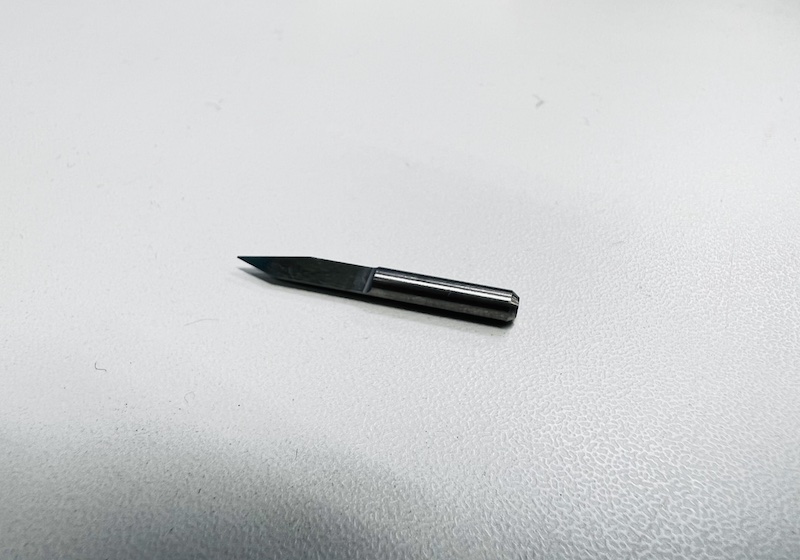
- for outline
- 1/32” endmill
- = 0.79375 mm
- SE / 2FL / Altin Coated
- (alternative) 0.7 mm
[source](https://docs.carbide3d.com/tutorials/tutorial-tooling/)
### About CAM and Machine
- Build an environment to implement this that will be completed on my own PC.
- Fusion → Mods → g sender → Genmitsu PRO Ver XL

- [Mods](https://mods.cba.mit.edu/)
### Set up milling environment
- Install [CH340 Driver](https://learn.sparkfun.com/tutorials/how-to-install-ch340-drivers/all#mac-osx)
- G-gode sender: [gSender](https://github.com/Sienci-Labs/gsender)[¶](https://fabacademy.org/2022/labs/kannai/Instruction/tips/genmitsu_prover_xl_setup/#g-gode-sender-gsender)
- [Installation](https://resources.sienci.com/view/gs-installation/)
- Download setting file [gSender-settings-Genmitsu PROVerXL-4030.json](https://fabacademy.org/2022/labs/kannai/Instruction/images/proverXL/gSender-settings-Genmitsu%20PROVerXL-4030.json)
- Gear icon(right top) -> Clock to open Setting
- General -> Settings -> Import Settingds
- Import Setting [gSender-settings-Genmitsu PROVerXL-4030.json](https://fabacademy.org/2022/labs/kannai/Instruction/images/proverXL/gSender-settings-Genmitsu%20PROVerXL-4030.json)

- Connect PROVerXL 4030 and power ON

- Connect to Machine -> Unrecognized devices -> /dev/tty.usbserial-10

homing : move the header to home position
rapid / normal / precise : how much the header move
### Mill LineTest
- Click Load File and open [SVG image.nc](https://fabacademy.org/2022/labs/kannai/Instruction/images/proverXL/SVG%20image.nc)
- Download [png.txt](https://fabacademy.org/2022/labs/kannai/Instruction/images/proverXL/mods/mill_2D_PCB_png.txt)
- Open [mods](https://mods.cba.mit.edu/) (MIT server)
- program > open local program > mill_2D_PCB_svg.txt > open
- select png file and import [file](http://academy.cba.mit.edu/classes/electronics_production/linetest.png)

set and calcurate

output path

load [image.nc](http://image.nc) in gsender

imported data

Fix PCB on workplace by double-coated adhesive tape and set endmill at the header.
Adjust the position to the grinding position and Push “Zero all”
Caution: When aligning the Z, I put a paper between the ground and the endmill to fine-tune the needle position. Lower the header until the paper tears.
Set the header position as Zero. and Push “Start Job”

However, It works once by pushing “Start Job”, but it occured the error and stop soon.
We need to start again and get rid of the bug.

After push “Reset2 and “Go to XY0”, I broke the endmill because the z-axis was too low 😭

so edit the code of gSender to remove bug of LINE 9.

comment out “G04~~” and “T * tool +M06~~~”


set “cut depth” 0.2mm

Save local programme as text and html so as not to need to edit gSender code again.
Try again to push “Start Job” Finish to make Interior.
Next, cut outline in the same way.

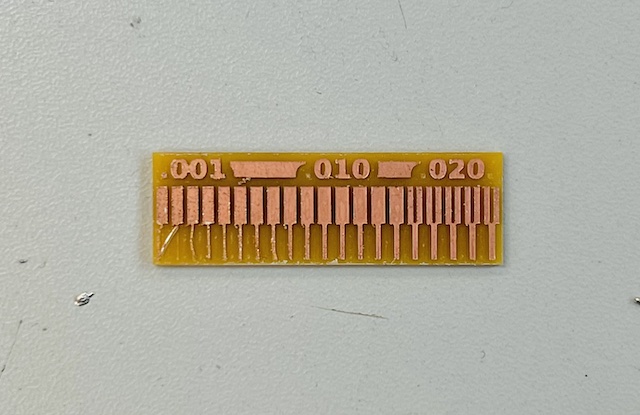
Finish the LineTest Board.
remove the sticky double-sided tape by acetone

## **What we learn**[¶](https://fabacademy.org/2022/labs/kannai/Weekly_Group_Assignments/week03/#what-we-learn)
to [Yukiya’s individual site](https://fabacademy.org/2022/labs/kannai/students/yukiya-yamane/assignments/week05/)